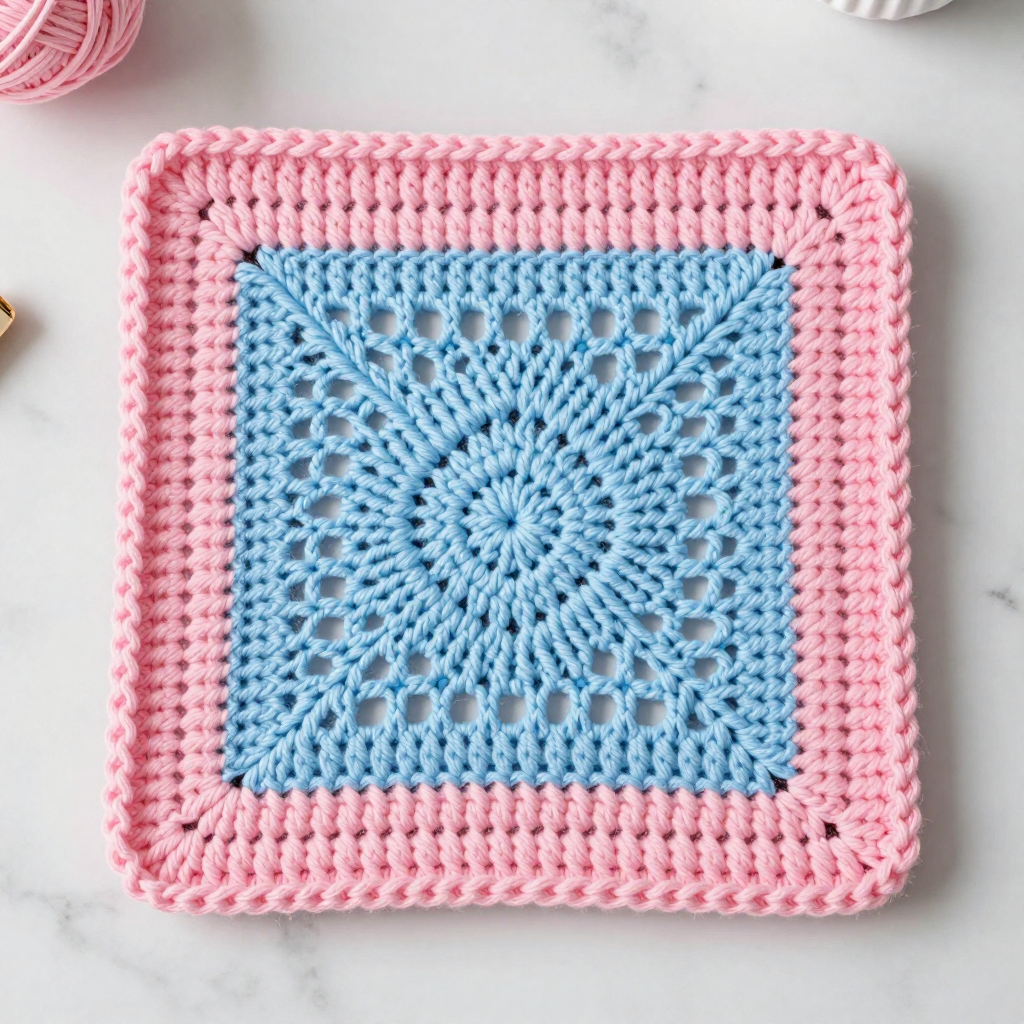
Checkerboard Harvest Clutch: Free Crochet Pattern

Introduction
The Checkerboard Harvest Clutch is a slim, folk-art inspired bag that's perfect for pumpkin-season outings, farmers' markets, and cozy fall evenings. It's made from one corner-to-corner crochet rectangle in alternating oatmeal and charcoal squares, then folded and seamed into a tidy little clutch with a flap and a contrast button. The bulky cotton gives it a sturdy, structured feel that holds its shape, while the two-tone checkerboard keeps it looking modern and handmade at the same time. If you've crocheted a bit and want to try color changes in C2C, this is a satisfying, quick-finishing project you'll actually use.
Materials Needed
- Yarn: Bulky (weight 5) cotton yarn, approx. 120 yd (110 m) total — 70 yd oatmeal (A), 50 yd charcoal (B). Sample used Paintbox Yarns Cotton Bulky (100% cotton, 100g/76 yd per skein).
- Hook: 6.0 mm (US J-10) crochet hook
- Notions: Tapestry needle, scissors, stitch markers (optional), bobbins or yarn butterflies for the carried color
- Finished size: Approx. 10" wide x 6" tall (25.5 x 15 cm) when folded
Abbreviations
- ch — chain
- dc — double crochet
- sc — single crochet
- sl st — slip stitch
- sp — space
- st(s) — stitch(es)
- A — oatmeal color
- B — charcoal color
Gauge
1 C2C square = 1 inch (2.5 cm) after blocking, where each square is ch 3 + 3 dc. Work a few rows and measure a completed square to check before committing to the full rectangle.
Tips Before You Start
- Change color at the start of each square. Finish the previous square, then join the new color before beginning the next ch 3 + 3 dc group so the checkerboard edges stay crisp.
- Carry the unused color loosely. Keep the carried strand relaxed along the edge or use bobbins — pulling it tight will pucker the fabric.
- Trust the diagonal. C2C grows from one corner; the rectangle will look like a diamond-ended strip until you fold it. Don't panic if it seems oddly shaped mid-project.
- Block before assembly. Cotton C2C squares even out beautifully with light blocking, which makes seaming and the final clutch shape much neater.
Step-by-Step Instructions
Rectangle (A and B)
Worked diagonally in corner-to-corner. Each square = ch 3, 3 dc. Increase until 10 squares wide, then decrease. Alternate A and B square by square, shifting colors each row to create the checkerboard.
Row 1 (A): Ch 4, 3 dc in 4th ch from hook. (1 square)
Row 2 (B): Ch 6, turn, 3 dc in 4th ch from hook, sl st to ch-3 sp of previous square, ch 3, 3 dc in same sp. (2 squares)
Row 3 (A): Ch 6, turn, 3 dc in 4th ch from hook, [sl st to next ch-3 sp, ch 3, 3 dc in same sp] twice. (3 squares)
Rows 4–10: Continue increasing, adding 1 square per row, following the checkerboard color sequence (alternate A and B each square, shifting colors each row). Work until Row 10. (10 squares)
Row 11: Ch 3, turn, skip first square, [sl st to next ch-3 sp, ch 3, 3 dc in same sp] across, ending with sl st to last square. (9 squares)
Rows 12–19: Continue decreasing 1 square per row, keeping the checkerboard sequence, until 1 square remains. Fasten off.
Button Loop (B)
Join B to the center of the flap edge (Row 10 edge).
Loop: Ch 10, sl st to form loop, sc 12 around loop. Fasten off.
Button (B)
Rnd 1: With B, make a magic ring, 6 sc in ring, pull closed, sl st to first sc. (6 sc) Fasten off, leaving a tail for sewing.
Assembly and Finishing
Fold the rectangle in half with right sides together, matching the short ends. Whipstitch or sc the two sides together from the fold up to the opening, leaving the top open. Turn right side out. Fold the flap over the front. Sew the button to the front of the clutch, centered, opposite the button loop. Weave in all ends, then block lightly to even out the squares and set the shape.
Pro Tips and Variations
- Swap the palette: Try rust and cream, or forest green and oat, for a different seasonal folk-art look.
- Add a lining: A simple cotton lining hand-sewn inside keeps small items from slipping through the C2C spaces.
- Make it a wristlet: Add a short ch-loop strap at one side seam for a hands-free version.