Space Age Eye Yoke Knit Free Pattern
Introduction
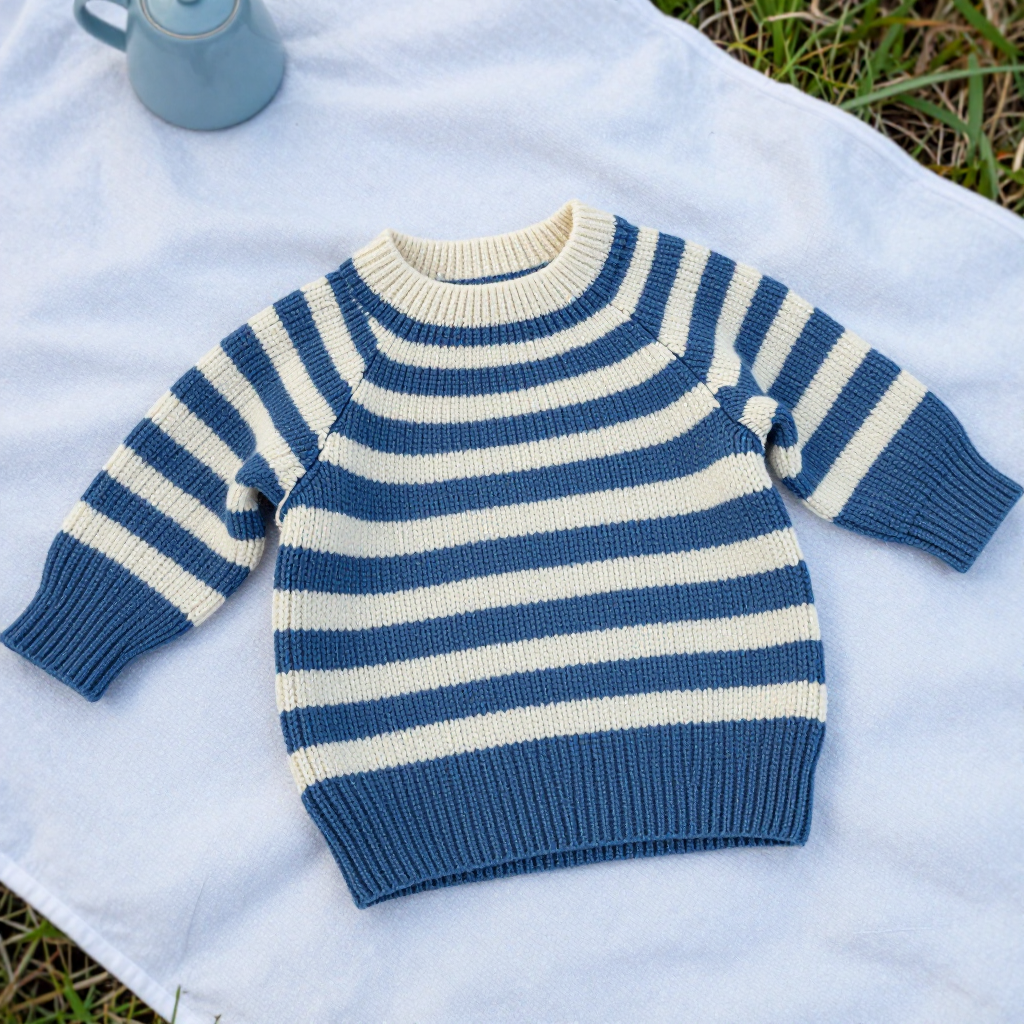
This newborn pullover is a gentle introduction to brioche-style texture and color play, designed for knitters who have mastered knit and purl and want something a little more eye-catching. The "evil eye" motif comes from a wide yoke band where the knit and purl columns shift every other round, creating a soft, concentric target in denim blue and cream. The body and sleeves are simple ribbed tubes with no shaping, so the knitting stays relaxing and portable. The finished piece is soft, stretchy, and cozy against delicate skin, with a rolled cream neckline that slips easily over a newborn's head.
Materials Needed
- Yarn: DK weight, 100% merino, 120 yd (110 m) per 50 g ball. Denim Blue (A): 150 yd (about 2 balls). Cream (B): 100 yd (about 1 ball).
- Needles: 4.0 mm (US 6) circular needles in 40 cm and 60 cm lengths, plus a set of 4.0 mm double-pointed needles (DPNs), or sizes needed to obtain gauge.
- Notions: Stitch markers, a tapestry needle, a tape measure, and a few locking stitch markers or safety pins for assembly.
- Finished size: To fit newborn 0–3 months. Chest circumference 46 cm, body length 24 cm, sleeve length 14 cm, neck circumference 30 cm.
Abbreviations
- CO — cast on: create the starting stitches.
- k — knit stitch.
- p — purl stitch.
- st(s) — stitch(es).
- rnd(s) — round(s): one complete circuit of the work in the round.
- pm — place marker.
- BO — bind off: finish the edge so stitches don't unravel.
- rep — repeat.
Gauge
22 sts and 30 rnds = 10 cm in k1, p1 rib worked flat, blocked. Knit a swatch in k1, p1 rib, block it, and measure a 10 cm section; if you have more stitches than 22, go up a needle size, and if fewer, go down.
Tips Before You Start
- Because the body and sleeves are worked as separate tubes, knit all three pieces before starting the yoke so you can join them in one sitting.
- Keep your rib tension relaxed — tight ribbing makes the yoke band pull in and the neckline hard to stretch over a newborn's head.
- When you change colors, give the yarn a gentle tug at the join to avoid a loose gap at the stripe.
- Use a row counter for the yoke; the alternating knit/purl alignment is easy to lose track of without one.
Step-by-Step Instructions
Body (Color A)
With the 40 cm circular needle and A, CO 100 sts. Join to work in the round, being careful not to twist, and pm at the join.
Rnds 1–40: [k1, p1] to end (100 sts).
Change to B.
Rnds 41–44: [k1, p1] to end (100 sts).
Change to A.
Rnds 45–60: [k1, p1] to end (100 sts).
BO all sts loosely.
Sleeves (Color A) — make 2
With DPNs and A, CO 32 sts. Join to work in the round and pm at the join.
Rnds 1–24: [k1, p1] to end (32 sts).
Change to B.
Rnds 25–28: [k1, p1] to end (32 sts).
Change to A.
Rnds 29–36: [k1, p1] to end (32 sts).
BO all sts loosely. Repeat for the second sleeve.
Yoke
With the 60 cm circular needle and A, pick up and knit 100 sts evenly around the body's top edge (1 st per cast-on st). Pm and join to work in the round.
Rnds 1–2: [k1, p1] to end (100 sts).
Change to B.
Rnd 3: [k1, p1] to end (100 sts).
Rnd 4: [p1, k1] to end (100 sts).
Change to A.
Rnd 5: [k1, p1] to end (100 sts).
Rnd 6: [p1, k1] to end (100 sts).
Rnds 7–34: Rep Rnds 3–6 seven times total (28 rnds), then work Rnds 3–4 once more (100 sts).
Change to B.
Rnds 35–36: [k1, p1] to end (100 sts).
Change to A.
Rnds 37–38: [k1, p1] to end (100 sts).
BO all sts loosely.
Neckline (Color B)
With the 40 cm circular needle and B, pick up and knit 80 sts evenly around the yoke's top edge. Pm and join to work in the round.
Rnds 1–6: k all sts (80 sts).
BO all sts loosely — the rolled edge forms naturally as the stockinette curls.
Assembly and Finishing
Lay the body flat and place the yoke band around its top edge. Pin each sleeve's top edge to the yoke's side edges, matching the underarm points (the sleeve seam and the body join should line up). Using a tapestry needle and a length of matching yarn, sew the sleeve tops to the yoke with a smooth, even stitch, working around the full opening. Remove the pins and check that both sleeves sit symmetrically. Weave in all ends on the wrong side, threading each tail through a few stitches before trimming. Block the sweater to the finished measurements: soak gently in cool water, squeeze (don't wring) out excess, roll in a towel, then lay flat to the measurements above and let dry completely — this opens up the ribbing and evens the stripes.
Pro Tips and Variations
- Swap the cream stripe for a soft mustard or sage to change the mood while keeping the same evil-eye contrast.
- Work the neckline in k1, p1 rib instead of plain knit for a flatter, less curly edge.
- Add a matching baby hat by casting on 72 sts and working the same stripe sequence in the round until the crown, then decreasing evenly.


