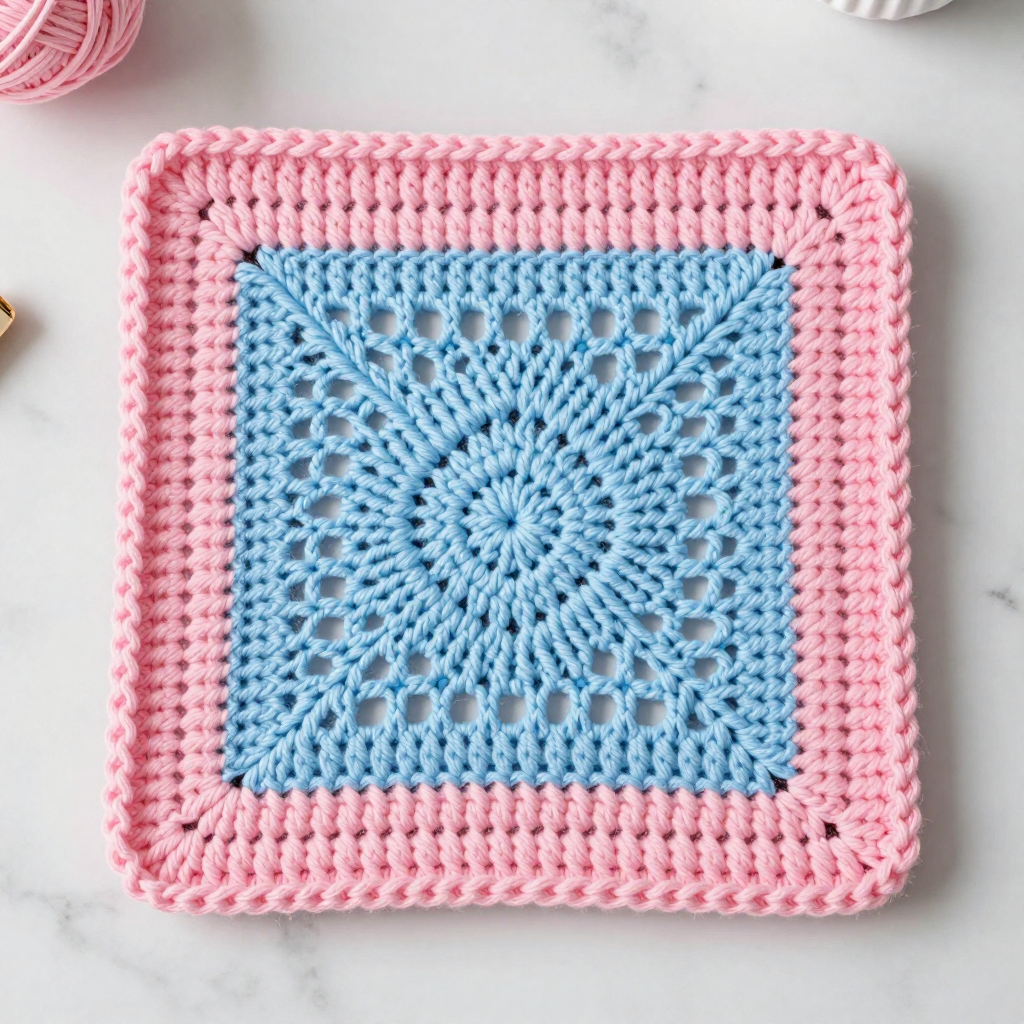
Seashell Scalloped Border Square Crochet Free Pattern

Introduction
This Seashell Scalloped Border Square is a calm, sunny little project that looks like a scrap of the Mediterranean coast. It's written for beginners: the whole center is plain double crochet worked in the round, so the only new skill you'll meet is the four corner increases. The pale sand body feels soft, smooth and sturdy, and the white shell edging gives it a crisp, wave-washed finish that makes even a first square look polished. At 12" x 12" (30.5 cm x 30.5 cm), one square makes a lovely pillow front, and a stack of them becomes a summer blanket.
Materials Needed
- Yarn: Worsted weight (4) acrylic or cotton. Color A (pale sand): approx. 150 yd. Color B (white): approx. 30 yd.
- Hook: 5.0 mm (H-8), or the size that meets gauge.
- Notions: Tapestry needle, scissors, stitch marker (optional, for the first stitch of each round).
- Finished size: 12" x 12" (30.5 cm x 30.5 cm).
Abbreviations
- ch – chain: make a loop of yarn and pull it through the loop on your hook.
- sl st – slip stitch: insert hook, yarn over, pull through everything on the hook.
- sc – single crochet: insert hook, yarn over, pull up a loop, yarn over, pull through both loops.
- dc – double crochet: yarn over, insert hook, pull up a loop, yarn over, pull through two loops, yarn over, pull through the last two loops.
- sp – space: the hole made by a chain or chains.
- sk – skip: work past the next stitch without working into it.
- beg – beginning.
- rep – repeat.
Gauge
14 dc x 8 rows = 4" (10 cm). Work a small swatch in double crochet and measure the middle of it; if you have more stitches than 14 in 4", go up a hook size, and if fewer, go down.
Tips Before You Start
- Each round begins with a ch 3 that counts as your first dc, and the round is joined to the top of that ch 3. Keep that join loose so the corner stays square.
- Every corner is worked as (2 dc, ch 2, 2 dc) into the corner ch-2 space. Those four corners are what turn a circle into a square, so count them every round.
- Mark the first stitch of each round if you tend to lose your place; the stitch count grows by 16 dc per round.
- Keep your tension even rather than tight — a relaxed double crochet gives the shell border a flat, even base to sit on.
Step-by-Step Instructions
Square (Color A)
Set-up: Ch 4, join with sl st to form a ring.
R1: Ch 3 (counts as first dc), 2 dc in ring, [ch 2, 3 dc in ring] 3 times, ch 2, join with sl st to top of beg ch-3 (12 dc, 4 ch-2 sps).
R2: Ch 3, dc in same st, dc in next 2 dc, *(2 dc, ch 2, 2 dc) in ch-2 sp, dc in next 3 dc; rep from * around, join with sl st to top of beg ch-3 (28 dc, 4 ch-2 sps).
R3: Ch 3, dc in same st, dc in next 4 dc, *(2 dc, ch 2, 2 dc) in ch-2 sp, dc in next 7 dc; rep from * around, join with sl st to top of beg ch-3 (44 dc, 4 ch-2 sps).
R4: Ch 3, dc in same st, dc in next 6 dc, *(2 dc, ch 2, 2 dc) in ch-2 sp, dc in next 11 dc; rep from * around, join with sl st to top of beg ch-3 (60 dc, 4 ch-2 sps).
R5: Ch 3, dc in same st, dc in next 8 dc, *(2 dc, ch 2, 2 dc) in ch-2 sp, dc in next 15 dc; rep from * around, join with sl st to top of beg ch-3 (76 dc, 4 ch-2 sps).
R6: Ch 3, dc in same st, dc in next 10 dc, *(2 dc, ch 2, 2 dc) in ch-2 sp, dc in next 19 dc; rep from * around, join with sl st to top of beg ch-3 (92 dc, 4 ch-2 sps).
R7: Ch 3, dc in same st, dc in next 12 dc, *(2 dc, ch 2, 2 dc) in ch-2 sp, dc in next 23 dc; rep from * around, join with sl st to top of beg ch-3 (108 dc, 4 ch-2 sps).
R8: Ch 3, dc in same st, dc in next 14 dc, *(2 dc, ch 2, 2 dc) in ch-2 sp, dc in next 27 dc; rep from * around, join with sl st to top of beg ch-3 (124 dc, 4 ch-2 sps).
R9: Ch 3, dc in same st, dc in next 16 dc, *(2 dc, ch 2, 2 dc) in ch-2 sp, dc in next 31 dc; rep from * around, join with sl st to top of beg ch-3 (140 dc, 4 ch-2 sps).
R10: Ch 3, dc in same st, dc in next 18 dc, *(2 dc, ch 2, 2 dc) in ch-2 sp, dc in next 35 dc; rep from * around, join with sl st to top of beg ch-3 (156 dc, 4 ch-2 sps).
R11: Ch 3, dc in same st, dc in next 20 dc, *(2 dc, ch 2, 2 dc) in ch-2 sp, dc in next 39 dc; rep from * around, join with sl st to top of beg ch-3 (172 dc, 4 ch-2 sps).
R12: Ch 3, dc in same st, dc in next 22 dc, *(2 dc, ch 2, 2 dc) in ch-2 sp, dc in next 43 dc; rep from * around, join with sl st to top of beg ch-3 (188 dc, 4 ch-2 sps). Fasten off Color A.
Border (Color B)
Set-up: Join Color B with sl st in any ch-2 sp.
Rnd 1: Ch 1, sc in same sp, *sc in each dc across to next ch-2 sp, (sc, ch 2, sc) in ch-2 sp; rep from * around, join with sl st to first sc (196 sc, 4 ch-2 sps).
Rnd 2: Ch 1, sc in same st, *sk next 2 sc, 5 dc in next sc, sk next 2 sc, sc in next sc; rep from * around, working (sc, ch 2, sc) in each ch-2 sp, join with sl st to first sc. Fasten off.
Assembly and Finishing
Weave in all ends on the wrong side with your tapestry needle, running each tail through a few stitches before trimming. If you are joining several squares, place them right sides together and whipstitch or single crochet the edges, matching the corner ch-2 spaces so the shells line up. Block the square by misting it lightly and pinning it to 12" x 12" on a towel or blocking mat; let it dry fully so the shell edging lies flat and the corners stay crisp.
Pro Tips and Variations
- Change Color A to soft aqua or seafoam for a beachier look, keeping the white shell border for contrast.
- Work the shell round in a slightly larger hook size if your scallops pull the square in at the edges.
- Make four squares and seam them into a 24" pillow front, or keep going for a full summer blanket.