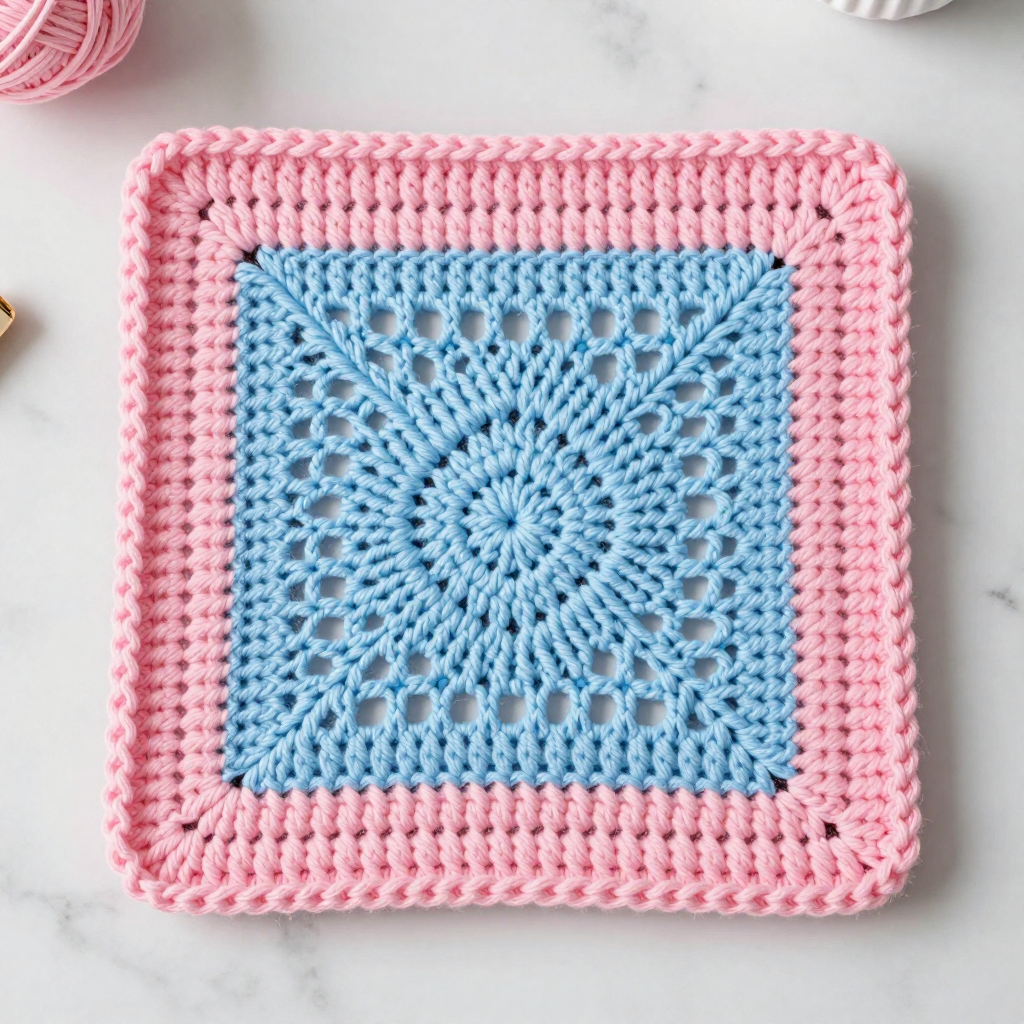
Art Deco Fan Mat with Picot Edge: Free Crochet Pattern

Introduction
This Art Deco Fan Mat is a soft, sturdy little rug for the medium dog in your life — or for any pet who likes a cozy spot of their own. It's worked in simple double crochet stripes of cotton candy pink and baby blue, so the fabric comes out dense and cushy under paws. The special touch is the pair of fan-shaped panels at each short end, with their openwork row of chain spaces, plus a delicate picot edging all the way around. It looks a little glamorous, feels wonderfully squishy, and is easy enough for a confident beginner to finish in a weekend or two.
Materials Needed
- Yarn: Worsted weight acrylic. Color A (cotton candy pink): 300 yd. Color B (baby blue): 300 yd.
- Hook: 5.0 mm (US H-8) crochet hook.
- Notions: Tapestry needle for weaving in ends, scissors, and a few stitch markers for the corners.
- Finished size: Approximately 24 inches (61 cm) wide by 18 inches (46 cm) long, including the fan panels.
Abbreviations
- ch — chain: yarn over and pull through the loop on your hook.
- dc — double crochet: yarn over, insert hook in stitch, pull up a loop, yarn over and pull through 2 loops twice.
- sc — single crochet: insert hook in stitch, pull up a loop, yarn over and pull through both loops.
- sl st — slip stitch: insert hook in stitch, yarn over and pull through everything on the hook.
- sp — space (usually a chain space).
- st(s) — stitch(es).
- rep — repeat.
- Rnd — round (worked in a loop, joined at the end).
Gauge
14 stitches and 8 rows = 4 inches (10 cm) in double crochet. To check it, crochet a small swatch in dc, measure a 4-inch section in the middle, and adjust your hook size if you have more or fewer stitches than 14.
Tips Before You Start
- Change colors at the end of a row by pulling the new color through the last loop of the final stitch — this keeps the stripe edge neat.
- Keep your turning chains loose so the side edges of the mat stay straight and easy to single crochet into later.
- Count your stitches at the end of every row; the mat body should stay at 83 dc throughout.
- When working the edging, mark the three corner stitches with stitch markers so you don't lose your place around the corners.
Step-by-Step Instructions
Mat Body
Base chain: With Color A, ch 85.
Row 1: Dc in 4th ch from hook and in each ch across, turn (83 dc).
Rows 2-4: Ch 3, dc in each st across, turn (83 dc). Change to Color B.
Rows 5-8: Ch 3, dc in each st across, turn (83 dc). Change to Color A.
Rows 9-12: Ch 3, dc in each st across, turn (83 dc). Change to Color B.
Rows 13-16: Ch 3, dc in each st across, turn (83 dc). Change to Color A.
Rows 17-20: Ch 3, dc in each st across, turn (83 dc). Change to Color B.
Rows 21-24: Ch 3, dc in each st across, turn (83 dc). Change to Color A.
Rows 25-28: Ch 3, dc in each st across, turn (83 dc). Change to Color B.
Rows 29-32: Ch 3, dc in each st across, turn (83 dc). Change to Color A.
Rows 33-36: Ch 3, dc in each st across, turn (83 dc). Do not fasten off.
Fan Motif (make 2, one for each short end)
Work both motifs with Color B.
Row 1: Ch 21, dc in 4th ch from hook and in each ch across, turn (19 dc).
Row 2: Ch 3, dc in first 2 sts, *ch 2, skip 2 sts, dc in next 3 sts; rep from * across, turn (4 ch-2 sps).
Row 3: Ch 3, dc in first 2 sts, *2 dc in ch-2 sp, dc in next 3 sts; rep from * across, turn (23 dc).
Row 4: Ch 3, dc in each st across, turn (23 dc). Fasten off.
Assembly
With Color A, sc each fan motif to one short end of the mat, working through both layers (the motif and the mat edge together).
Picot Edging
Rnd 1: With Color A, sc evenly around the entire mat, working 3 sc in each corner; join with sl st to first sc.
Rnd 2: Ch 1, sc in first sc, *ch 3, sl st in third ch from hook (picot), sc in next 2 sc; rep from * around, adjusting to end with sc in last sc; join with sl st to first sc. Fasten off.
Assembly and Finishing
If you haven't already, single crochet the two fan motifs to the short ends of the mat with Color A, working through both layers so the join is firm and flat. Weave in all ends on the wrong side with your tapestry needle, threading each end back and forth a few stitches so it won't work loose. Block the mat lightly: mist it with water, pat it flat into a rectangle, and let it dry completely — this smooths the stripes and helps the picot edge sit evenly.
Pro Tips and Variations
- Swap the two colors for any pair you like — a cream and sage green would give a softer, more vintage look.
- For a thicker, more padded mat, work the body with two strands of worsted held together and go up one hook size.
- Add a non-slip backing by whipstitching a piece of shelf liner or fabric to the wrong side so the mat stays put on smooth floors.