Two-Tone Alpine Neck Kerchief Free Crochet Pattern

Introduction
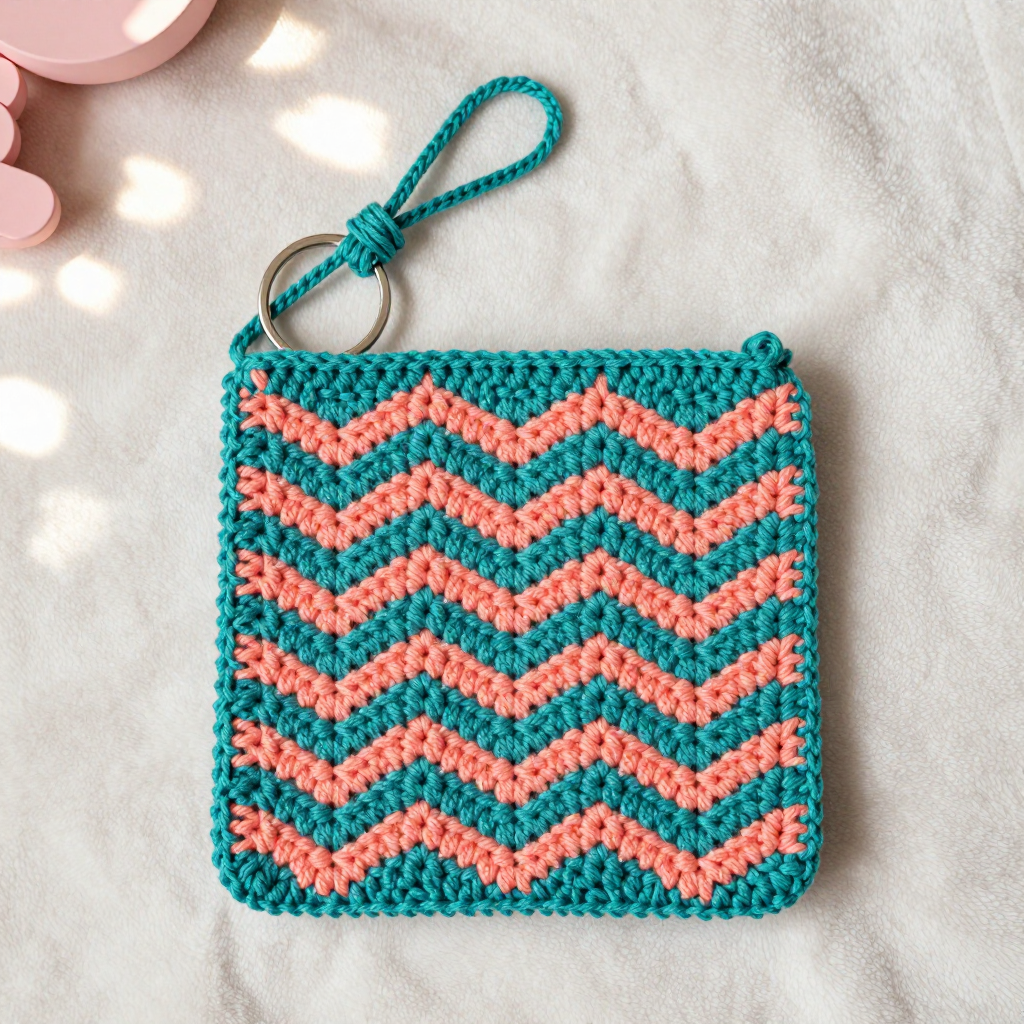
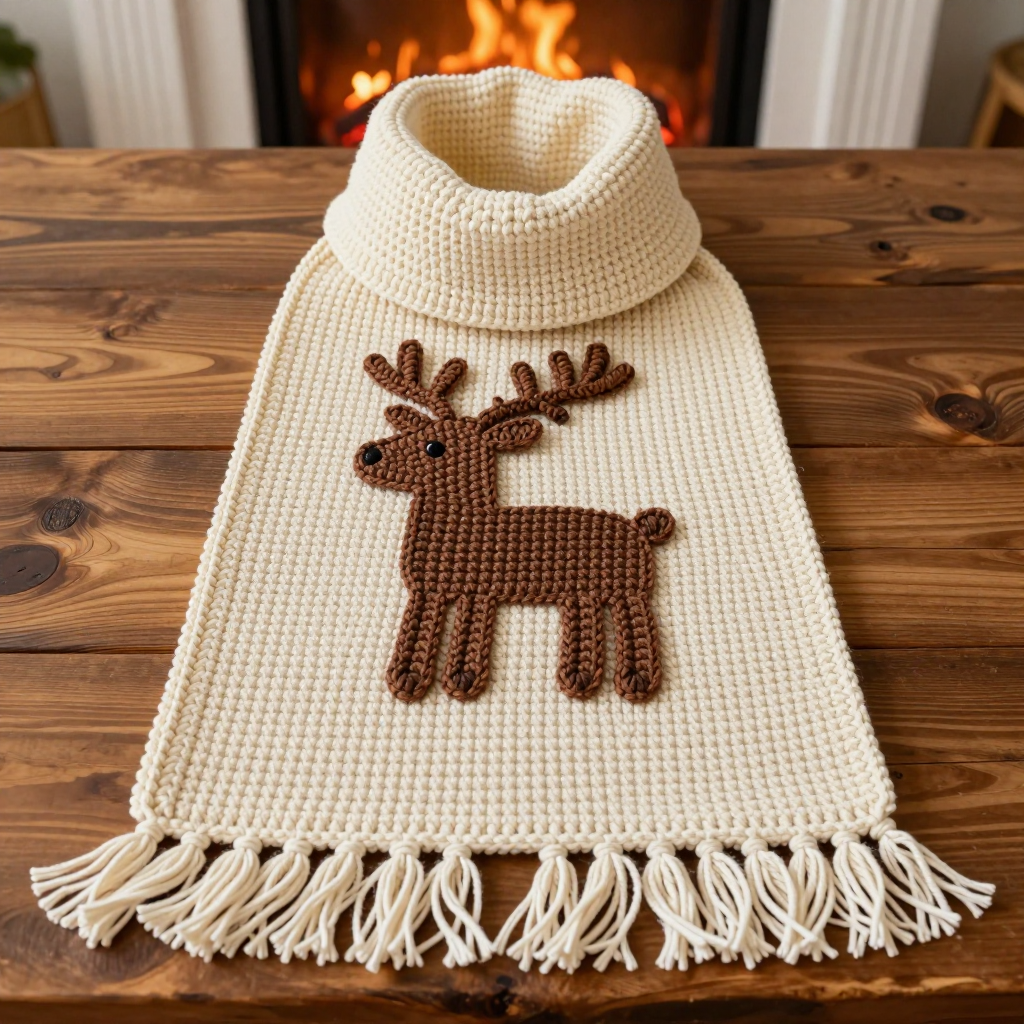
This little kerchief is made for the small dogs in your life — the ones who deserve a bit of handmade style on a walk or a trip to the vet. It is worked top-down in one piece, so there is no shaping to puzzle over: you simply crochet a triangle, stripe by stripe, and the alpine stitch does all the pretty work for you. The alternating double crochet and front-post double crochet columns give the fabric a dense, vertically ribbed texture that looks far more advanced than it is. In soft peach and apricot stripes, it looks warm and cheerful, and it feels sturdy enough to stay put while still being gentle against fur. Two twisted yarn cords tie at the corners so the fit is adjustable.
Materials Needed
- Yarn: Bulky (weight 5) wool, approx. 80 yd (73 m) total — 40 yd (37 m) peach (A) and 40 yd (37 m) apricot (B).
- Hook: 6.0 mm (J-10) crochet hook.
- Notions: Tapestry needle for weaving in ends, scissors, a tape measure, and a few rust-proof pins for blocking.
- Finished size: Width across top edge 14 in (35.5 cm); depth at center 7 in (18 cm); each tie cord 24 in (61 cm) long.
Abbreviations
- ch — chain: make a loop of yarn and pull it through the loop on your hook.
- dc — double crochet: yarn over, insert hook in stitch, pull up a loop, yarn over and pull through two loops, yarn over and pull through the last two loops.
- fpdc — front-post double crochet: work a double crochet around the post (the vertical body) of the stitch below, from the front, instead of into the top of the stitch.
- dc2tog — double crochet two stitches together: a decrease that turns two stitches into one.
- sc — single crochet: insert hook in stitch, pull up a loop, yarn over and pull through both loops.
- RS / WS — right side (the public, front face) / wrong side (the back face).
- st(s) — stitch(es).
Gauge
12 sts x 8 rows = 4 in (10 cm) in alpine stitch pattern. To check it, crochet a small swatch in the pattern and measure a 4 in (10 cm) section; if you have more stitches than 12, go up a hook size, and if you have fewer, go down.
Tips Before You Start
- Count your stitches at the end of every row. The full-width section should stay at 41 sts, and from Row 23 onward you lose exactly 2 sts per row.
- Keep your turning chains relaxed. A tight ch 3 makes the top edge pull in and the kerchief sit stiffly.
- Change colors at the end of the last row of a stripe, working the final yarn-over of that row with the new color so the stripe line stays clean.
- Alpine stitch is dense, so use a slightly looser tension than usual — the front-post stitches should sit proudly on the surface, not be squashed flat.
Step-by-Step Instructions
Kerchief (worked top-down in one piece)
With A, ch 43.
Row 1 (RS): Dc in 4th ch from hook (first 3 ch count as first dc), dc in each ch across, turn (41 dc).
Row 2 (WS): Ch 3 (counts as first dc), [fpdc around next st, dc in next st] across, turn (41 sts).
Row 3 (RS): Ch 3, [dc in next st, fpdc around next st] across, turn (41 sts).
Rows 4-5: Repeat Rows 2-3 once more (41 sts).
Change to B.
Rows 6-9: Repeat Rows 2-3 twice (41 sts).
Change to A.
Rows 10-13: Repeat Rows 2-3 twice (41 sts).
Change to B.
Rows 14-17: Repeat Rows 2-3 twice (41 sts).
Change to A.
Rows 18-21: Repeat Rows 2-3 twice (41 sts).
Change to B.
Row 22: Ch 3, [fpdc around next st, dc in next st] across, turn (41 sts).
Row 23 (decrease row): Ch 3, dc in next st, [fpdc around next st, dc in next st] across to last 2 sts, dc2tog, turn (39 sts).
Row 24: Ch 3, [fpdc around next st, dc in next st] across to last 2 sts, dc2tog, turn (37 sts).
Row 25: Ch 3, dc in next st, [fpdc around next st, dc in next st] across to last 2 sts, dc2tog, turn (35 sts).
Row 26: Ch 3, [fpdc around next st, dc in next st] across to last 2 sts, dc2tog, turn (33 sts).
Row 27: Ch 3, dc in next st, [fpdc around next st, dc in next st] across to last 2 sts, dc2tog, turn (31 sts).
Row 28: Ch 3, [fpdc around next st, dc in next st] across to last 2 sts, dc2tog, turn (29 sts).
Row 29: Ch 3, dc in next st, [fpdc around next st, dc in next st] across to last 2 sts, dc2tog, turn (27 sts).
Row 30: Ch 3, [fpdc around next st, dc in next st] across to last 2 sts, dc2tog, turn (25 sts).
Row 31: Ch 3, dc in next st, [fpdc around next st, dc in next st] across to last 2 sts, dc2tog, turn (23 sts).
Row 32: Ch 3, [fpdc around next st, dc in next st] across to last 2 sts, dc2tog, turn (21 sts).
Row 33: Ch 3, dc in next st, [fpdc around next st, dc in next st] across to last 2 sts, dc2tog, turn (19 sts).
Row 34: Ch 3, [fpdc around next st, dc in next st] across to last 2 sts, dc2tog, turn (17 sts).
Row 35: Ch 3, dc in next st, [fpdc around next st, dc in next st] across to last 2 sts, dc2tog, turn (15 sts).
Row 36: Ch 3, [fpdc around next st, dc in next st] across to last 2 sts, dc2tog, turn (13 sts).
Row 37: Ch 3, dc in next st, [fpdc around next st, dc in next st] across to last 2 sts, dc2tog, turn (11 sts).
Row 38: Ch 3, [fpdc around next st, dc in next st] across to last 2 sts, dc2tog, turn (9 sts).
Row 39: Ch 3, dc in next st, [fpdc around next st, dc in next st] across to last 2 sts, dc2tog, turn (7 sts).
Row 40: Ch 3, [fpdc around next st, dc in next st] across to last 2 sts, dc2tog, turn (5 sts).
Row 41: Ch 3, dc in next st, [fpdc around next st, dc in next st] across to last 2 sts, dc2tog, turn (3 sts).
Row 42: Ch 3, dc2tog, turn (2 sts).
Row 43: Ch 2, dc2tog (1 st). Fasten off.
Edging
With RS facing, join A at the top right corner. Work sc evenly along the right diagonal edge, across the bottom point, and up the left diagonal edge, then sc along the top edge. Fasten off. Weave in ends.
Tie Cord (make 2)
With A, ch 30. Fasten off, leaving a 6 in tail. Twist each cord tightly, then fold it in half and let it twist upon itself. Tie a knot at each end.
Assembly and Finishing
Weave in all ends on the wrong side, running each tail through a few stitches so it stays put. Attach one finished tie cord to each top corner of the kerchief, knotting it securely through the corner stitch. Block lightly to measurements: mist the kerchief, pin the top edge straight at 14 in (35.5 cm) and the center point at 7 in (18 cm) depth, and let it dry fully. Do not press the alpine stitch flat — a light steam or spritz is enough to even out the stripes.
Pro Tips and Variations
- Swap the two colors for a single solid shade, or use a self-striping bulky yarn and let the stripes happen on their own.
- For a larger dog, add extra full-width rows before the decrease section, keeping the 41-stitch count, and add a few more decrease rows to reach the point.
- Make the tie cords longer (ch 40-45) for a more generous bow, or replace them with a length of soft ribbon for a dressier look.