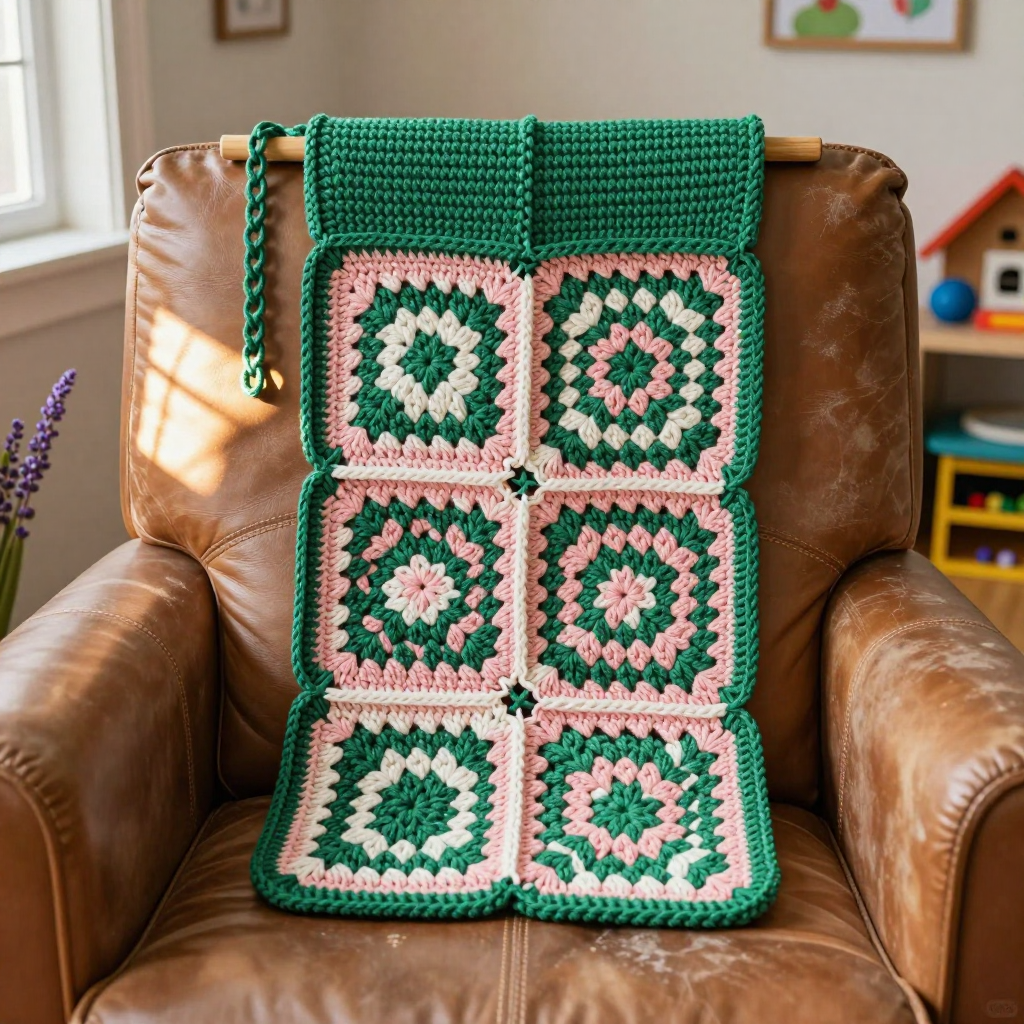
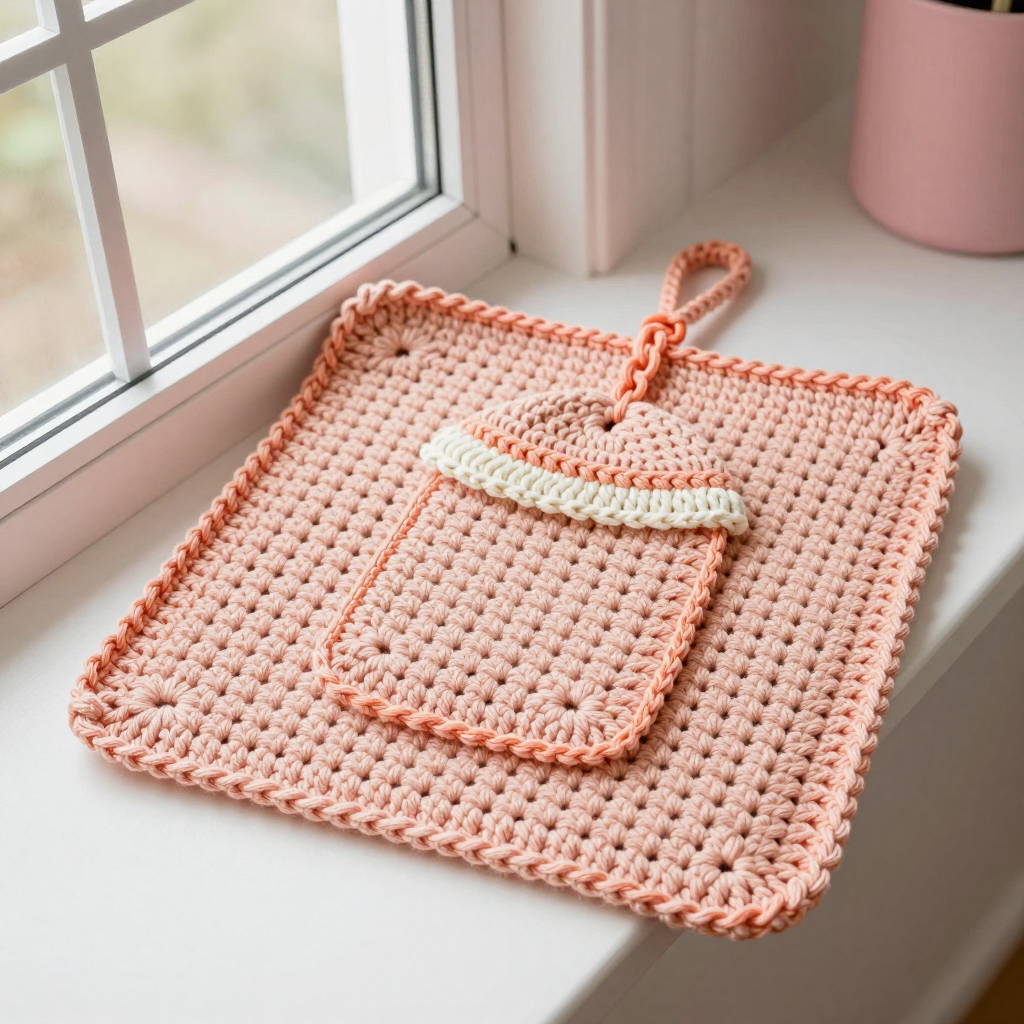
Lilac Ripple Square Crochet Free Pattern

Lilac Ripple Square Crochet Free Pattern
Introduction
The Lilac Ripple Square is a soft, dreamy 8-inch motif that's perfect for crocheters who have just mastered the basics and want to try something with a little texture. Worked in a single shade of lilac, it builds outward from a small center ring in joined rounds, alternating simple single and double crochet rounds to form a neat square with four corner spaces. The magic happens near the outer edge, where a ripple band of varying stitch heights creates a gentle, wavy wave across the fabric. It feels smooth and squishy in worsted weight yarn, and the pastel color makes it a lovely building block for blankets, pillows, and any project that calls for a calm, monochrome look.
Materials Needed
- Yarn: Worsted weight (4) acrylic or cotton in lilac — approximately 60–70 yards per square.
- Hook: 5.5 mm (US I/9).
- Notions: Tapestry needle for weaving in ends, scissors, and a stitch marker (optional, for marking the first stitch of each round).
- Finished size: 8" x 8" (20.5 cm x 20.5 cm) after blocking.
Abbreviations
- ch — chain: make a loop of yarn and pull it through the loop on your hook.
- sl st — slip stitch: insert hook, yarn over, pull through both the stitch and the loop on your hook.
- sc — single crochet: insert hook, yarn over, pull up a loop, yarn over, pull through both loops.
- hdc — half double crochet: yarn over, insert hook, pull up a loop, yarn over, pull through all three loops.
- dc — double crochet: yarn over, insert hook, pull up a loop, yarn over, pull through two loops, yarn over, pull through remaining two loops.
- sp — space (usually a chain-2 space).
- beg — beginning.
- rep — repeat.
- st(s) — stitch(es).
Gauge
One finished motif measures 8" x 8" (20.5 cm) in pattern. To check, work the square as written and measure it after blocking; if it comes out larger, try a smaller hook, and if smaller, try a larger hook.
Tips Before You Start
- Turn your work after each round as the pattern notes — this keeps the texture even and prevents the square from spiraling.
- Chain 3 at the beginning of a round counts as your first double crochet, so don't work into that same stitch again.
- Keep your corner chain-2 spaces consistent; they are what keep the square square, so don't skip or tighten them.
- Count your stitches at the end of each round — the totals are listed so you can catch mistakes early.
Step-by-Step Instructions
Note: The square is worked in joined rounds, turning after each round to keep the texture. Ch 3 at the beginning of a round counts as the first dc unless otherwise noted. The ripple pattern is created by varying stitch heights (sc, hdc, dc) and skipping stitches.
Center and Body of the Square
With lilac, ch 4, join with sl st to form a ring.
R1: Ch 3 (counts as first dc), 2 dc in ring, [ch 2, 3 dc in ring] 3 times, ch 2, join with sl st to top of beg ch-3. (12 dc, 4 ch-2 sps)
R2: Ch 1, sc in same st, sc in next 2 dc, *[sc, ch 2, sc] in ch-2 sp, sc in next 3 dc; rep from * around, join with sl st to first sc. (20 sc, 4 ch-2 sps)
R3: Ch 3, dc in next 2 sc, *[2 dc, ch 2, 2 dc] in ch-2 sp, dc in next 5 sc; rep from * around, join with sl st to top of beg ch-3. (36 dc, 4 ch-2 sps)
R4: Ch 1, sc in same st, sc in next 4 dc, *[sc, ch 2, sc] in ch-2 sp, sc in next 9 dc; rep from * around, join with sl st to first sc. (44 sc, 4 ch-2 sps)
R5: Ch 3, dc in next 5 sc, *[2 dc, ch 2, 2 dc] in ch-2 sp, dc in next 13 sc; rep from * around, join with sl st to top of beg ch-3. (68 dc, 4 ch-2 sps)
R6: Ch 1, sc in same st, sc in next 8 dc, *[sc, ch 2, sc] in ch-2 sp, sc in next 17 dc; rep from * around, join with sl st to first sc. (76 sc, 4 ch-2 sps)
R7: Ch 3, dc in next 9 sc, *[2 dc, ch 2, 2 dc] in ch-2 sp, dc in next 21 sc; rep from * around, join with sl st to top of beg ch-3. (100 dc, 4 ch-2 sps)
R8: Ch 1, sc in same st, sc in next 12 dc, *[sc, ch 2, sc] in ch-2 sp, sc in next 25 dc; rep from * around, join with sl st to first sc. (108 sc, 4 ch-2 sps)
R9: Ch 3, dc in next 13 sc, *[2 dc, ch 2, 2 dc] in ch-2 sp, dc in next 29 sc; rep from * around, join with sl st to top of beg ch-3. (132 dc, 4 ch-2 sps)
R10: Ch 1, sc in same st, sc in next 16 dc, *[sc, ch 2, sc] in ch-2 sp, sc in next 33 dc; rep from * around, join with sl st to first sc. (140 sc, 4 ch-2 sps)
Ripple Texture Round
R11: Ch 1, sc in same st, *sc in next 3 sc, hdc in next 3 sc, dc in next 3 sc, hdc in next 3 sc, sc in next 3 sc, [sc, ch 2, sc] in ch-2 sp; rep from * around, join with sl st to first sc. (140 sts, 4 ch-2 sps)
Final Border Round
R12: Ch 1, sc in same st, sc in each st around, working [sc, ch 2, sc] in each ch-2 sp; join with sl st to first sc. (148 sc, 4 ch-2 sps)
Fasten off.
Assembly and Finishing
Weave in all ends on the wrong side of the square with your tapestry needle, working in a few directions so the tails stay secure. If you're joining squares into a blanket or pillow, place them right sides together and seam with a simple whipstitch or join with a slip stitch through both layers, matching the corner spaces. Block the finished square to 8" x 8" (20.5 cm): pin it flat and square on a blocking mat, mist lightly with water, and let it dry completely. Blocking opens up the ripple band and gives you crisp, even corners.
Pro Tips and Variations
- Color play: Work the ripple round (R11) in a contrasting pastel or a slightly darker lilac for a subtle accent band.
- Bigger squares: Continue the alternating dc/sc rounds in the same increase pattern to grow the motif to 10" or 12" for a larger block.
- Texture boost: Try a front-post or back-post stitch on the final border round for a raised, framed edge that makes seaming easier.