Japandi Vase Cover Column: Free Crochet Pattern
Introduction
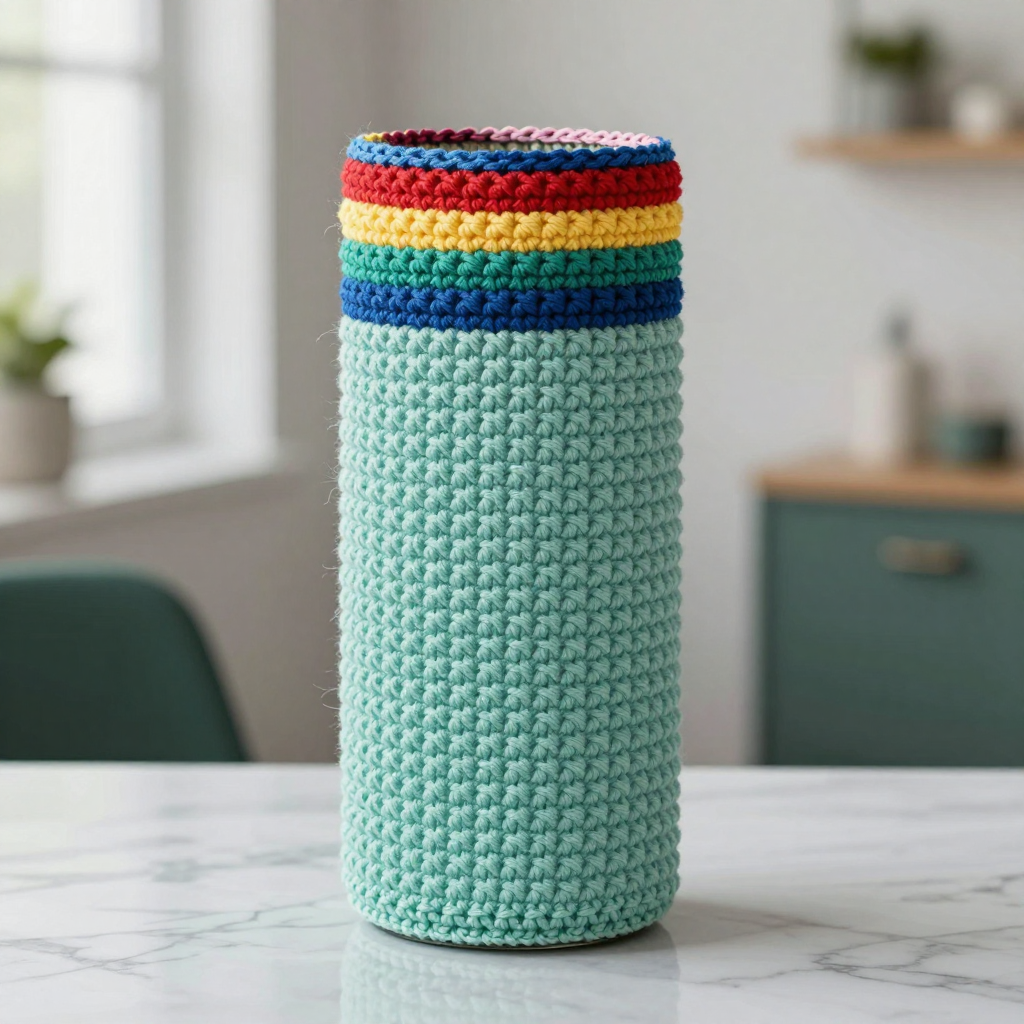
The Japandi Vase Cover Column is a simple, satisfying project for anyone who loves calm, minimal home decor. It is a straight crocheted tube in worsted cotton that slides over a plain glass jar, turning an everyday container into a quiet, textured vase or utensil holder. The look is clean and neutral, with a smooth single crochet body and two narrow contrasting bands near the top that add just enough interest without breaking the minimalist mood. It is beginner-friendly, works up quickly, and feels sturdy and smooth in the hand, making it a lovely small gift or a quick refresh for your own shelf.
Materials Needed
- Yarn: Worsted weight (category 4) cotton yarn, approx. 100 yds total: Color A (main) 80 yds, Color B (contrast) 10 yds, Color C (contrast) 10 yds.
- Hook: 5.0 mm (H-8) crochet hook.
- Notions: Stitch marker, tapestry needle, scissors, measuring tape.
- Finished size: Approx. 3.5 inches diameter x 5 inches tall, to fit a standard 1-quart mason jar (3.5 inches diameter).
Abbreviations
- MR: Magic ring — an adjustable loop used to start working in the round.
- sc: Single crochet — insert hook, pull up a loop, yarn over, pull through both loops.
- inc: Increase — work 2 single crochet stitches into the same stitch.
- ch: Chain — yarn over and pull through the loop on the hook.
- st(s): Stitch(es).
- rnd(s): Round(s) — one full circle of stitches worked in the round.
- [ ] x6: Repeat the instructions inside the brackets six times.
Gauge
16 sts and 16 rnds = 4 inches in single crochet worked in the round. To check, crochet a small swatch in the round and measure a 4-inch section; adjust your hook size if needed so the tube fits your jar snugly.
Tips Before You Start
- Work in continuous rounds without joining unless the pattern says otherwise, and use a stitch marker to track the start of each round.
- Keep your tension even so the tube stays straight and slides easily over the jar.
- Change colors on the last stitch of the previous round for a neat, tidy band edge.
- Measure your jar first; if it is slightly wider or narrower, add or remove one increase round before working straight.
Step-by-Step Instructions
Tube (Color A, then B and C)
Rnd 1: MR, 6 sc into the ring (6 sts).
Rnd 2: inc in each st around (12 sts).
Rnd 3: [sc, inc] x6 (18 sts).
Rnd 4: [2 sc, inc] x6 (24 sts).
Rnd 5: [3 sc, inc] x6 (30 sts).
Rnd 6: [4 sc, inc] x6 (36 sts).
Rnd 7: [5 sc, inc] x6 (42 sts).
Rnd 8: [6 sc, inc] x6 (48 sts).
Rnds 9–20: sc in each st around (48 sts). Change to Color B.
Rnds 21–22: sc in each st around (48 sts). Change to Color C.
Rnds 23–24: sc in each st around (48 sts). Fasten off.
Edging (Color A)
Rnd 1: With Color A, join to the top edge, ch 1, sc evenly around (48 sts). Fasten off.
Assembly and Finishing
Weave in all ends on the inside of the tube so they stay hidden. Gently block the cover by misting it lightly and shaping it over the jar or a similar cylinder to smooth the edges and even out the stitches. Let it dry fully before sliding it onto your jar.
Pro Tips and Variations
- Swap the contrast bands for a single accent color for an even more minimal look.
- Use a slightly smaller hook for a snugger fit on narrower jars.
- Add a few rounds of half double crochet at the base for a sturdier, more structured bottom.