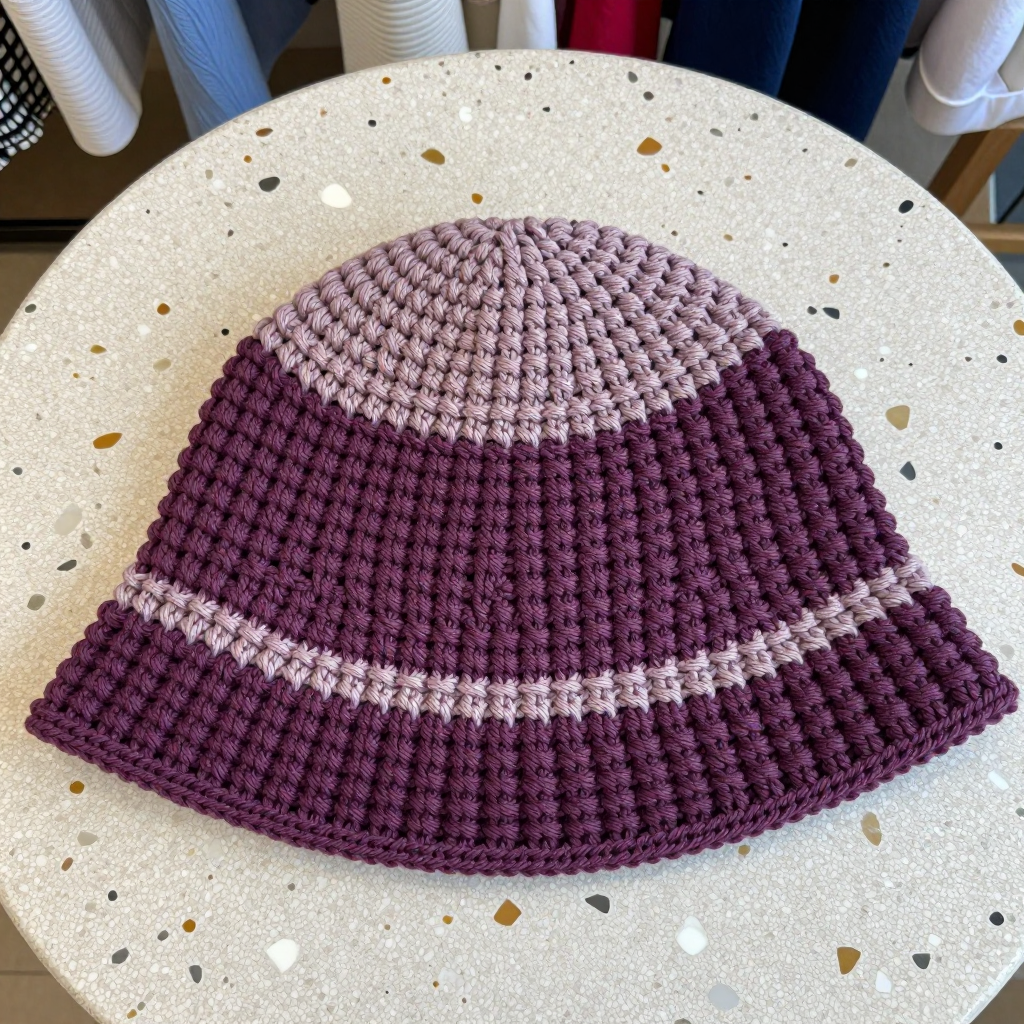
Fern Ridge Ribbed Toque: Free Crochet Pattern

Introduction
The Fern Ridge Ribbed Toque is a chunky, cozy hat that looks far more complicated than it actually is. It's designed for beginners who have just learned half double crochet and want a project that finishes in an evening or two. The hat is worked as one simple ribbed rectangle, seamed into a tube, and finished with a tall folded cuff that shows off a single warm ochre stripe. The half double crochet back-loop ribbing gives it a soft, stretchy, vertical texture that hugs the head, while the bulky yarn makes it squishy and warm. Slip it on and you get an easy, boho-style toque with a clean, modern look.
Materials Needed
- Yarn: Bulky (5) weight yarn, approx. 150 yds total. Color A (olive): 130 yds. Color B (ochre/mustard): 20 yds. Sample used Lion Brand Wool-Ease Thick & Quick (80% acrylic, 20% wool, 106 yds/170g) in Olive and Mustard.
- Hook: 5.5 mm (I/9) crochet hook.
- Notions: Tapestry needle for seaming and weaving in ends, scissors, and a stitch marker (optional, for marking the seam).
- Finished size: Adult, 20-inch circumference (unstretched) and 9 inches tall, including a 3-inch folded cuff.
Abbreviations
- ch — chain: make a loop of yarn and pull it through the loop on your hook.
- hdc — half double crochet: yarn over, insert hook into stitch, yarn over, pull up a loop, yarn over, pull through all three loops on the hook.
- st(s) — stitch(es).
- back loop only (BLO) — work into the loop of the stitch farthest from you, leaving the front loop unworked. This creates the ribbing.
- sl st — slip stitch: insert hook into stitch, yarn over, pull through both the stitch and the loop on your hook.
- sc — single crochet: insert hook into stitch, yarn over, pull up a loop, yarn over, pull through both loops on the hook.
- rep — repeat.
Gauge
8 stitches and 5 rows = 4 inches in half double crochet ribbing (hdc in back loop only). To check, work a small swatch in the ribbing pattern and measure the middle of the swatch; if you have more stitches than 8 per 4 inches, go up a hook size, and if you have fewer, go down.
Tips Before You Start
- Always work your hdc into the back loop only after Row 1 — this is what creates the stretchy vertical ribbing, so don't skip it.
- Keep your turning chains loose. A tight ch 2 at the start of each row makes the side edges pull in and the seam harder to match.
- Count your stitches at the end of every row. The rectangle must stay 39 stitches wide from start to finish for the hat to fit correctly.
- When you change colors, carry the old color loosely along the edge rather than cutting it, so you can switch back cleanly and keep the stripe tidy.
Step-by-Step Instructions
Ribbed Rectangle (Color A, then B, then A)
Row 1: With A, ch 41. Hdc in the 3rd ch from hook and in each ch across (39 hdc).
Row 2: Ch 2, turn, hdc in the back loop only of each st across (39 hdc).
Rows 3–22: Rep Row 2 (39 hdc).
Rows 23–24: Change to B. Rep Row 2 (39 hdc).
Rows 25–30: Change to A. Rep Row 2 (39 hdc).
Fasten off, leaving a 20-inch tail for seaming.
Assembly (Tube)
Fold the rectangle in half widthwise with right sides together. Whipstitch or slip stitch the two short edges together to form a tube, being careful not to twist the rectangle. Fasten off. Turn the hat right side out.
Cuff
Fold up the bottom 3 inches of the hat (the end with the ochre stripe) to form the cuff. The stripe will sit on the folded cuff as shown in the sample.
Edging (Optional, Color A)
Rnd 1: With A, join yarn at the seam, ch 1, sc evenly around the top edge (approx. 40 sc). Join with a sl st to the first sc. Fasten off.
Assembly and Finishing
Use the 20-inch tail and a tapestry needle to whipstitch the short edges together with a flat, even seam, or join with slip stitch if you prefer. Turn the hat right side out so the seam sits inside. Weave in all ends on the wrong side, working them in opposite directions so they don't pull loose. Fold up the 3-inch cuff. Lightly steam-block the hat (or mist and shape it flat) to even out the ribbing and settle the seam; avoid pressing the ribbing flat, since you want to keep its stretch and texture.
Pro Tips and Variations
- Make it slouchier by adding 4–6 more rows before the color change, or make it more fitted by removing 2–4 rows.
- Swap the ochre stripe for any contrast color, or work two stripes for a bolder look — just keep the total row count at 30.
- For a warmer, more rustic hat, use a wool-blend bulky yarn and add a pom-pom to the top opening after the edging.