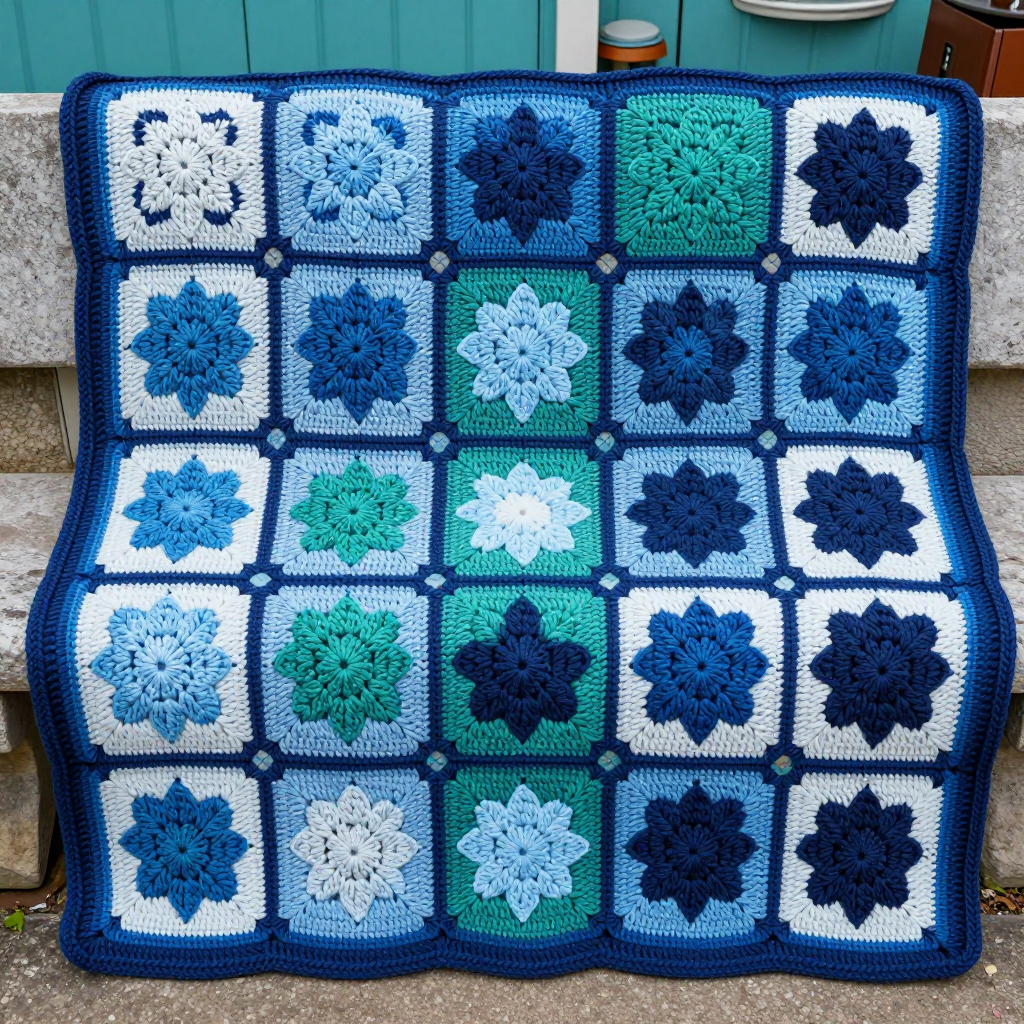
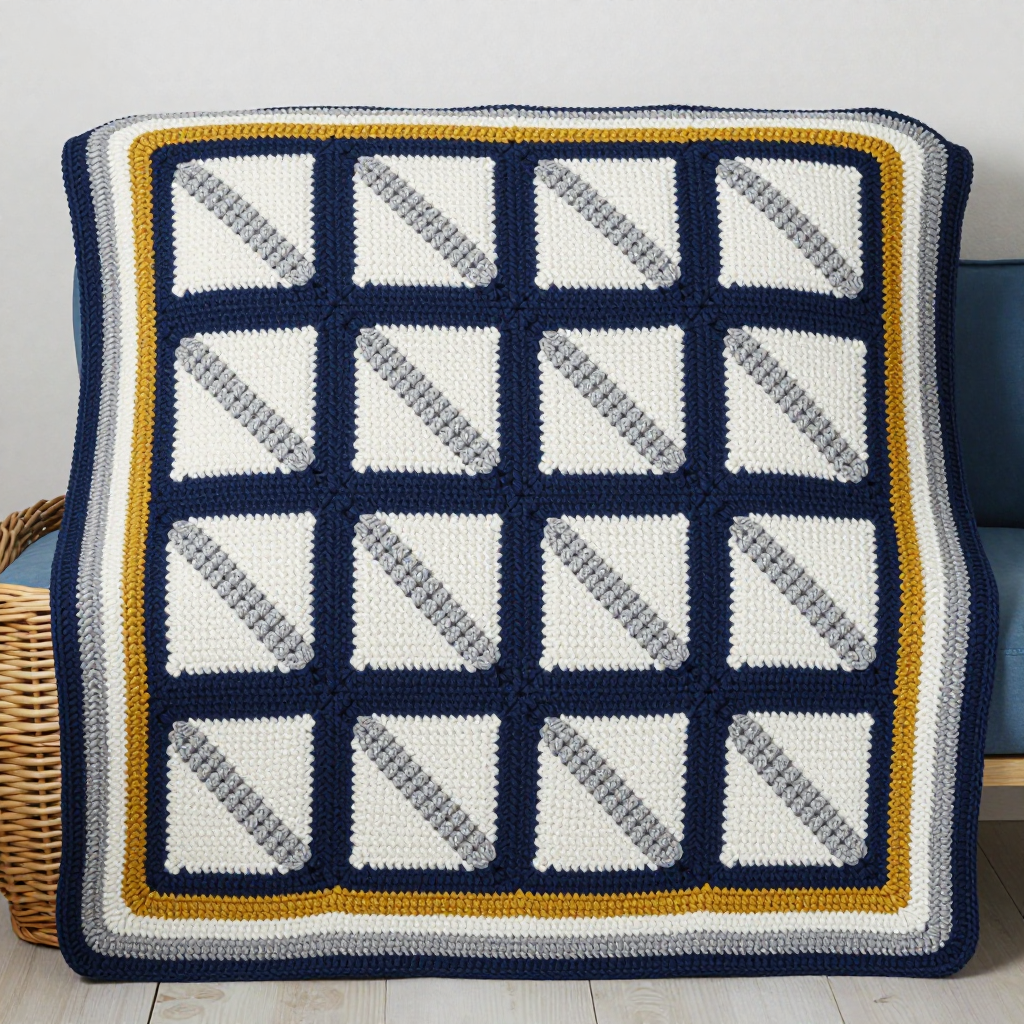
Crochet Elegant Hexagon Motif Blanket Free Pattern

Crochet Elegant Hexagon Motif Blanket Free Pattern
Introduction
This elegant hexagon motif blanket is a lovely project for crocheters who are comfortable with basic stitches and ready to try a little shaping and joining. Seven full hexagons and four half hexagons come together into a rich, textured square that looks far more intricate than it is to make. The soothing palette of deep blue, light blue, and cream gives it a calm, classic feel, while the front and back post stitches add beautiful raised texture you will love to touch. Soft, warm, and generously sized for a lap or crib, it makes a thoughtful gift or a cozy accent for any room.
Materials Needed
- Medium weight yarn (worsted, size 4) in three colors: Deep Blue, Light Blue, and Cream. Approximate quantities: Deep Blue 200 g (7 oz), Light Blue 250 g (8.8 oz), Cream 350 g (12.3 oz).
- Crochet hook size J-10 / 6 mm
- Yarn needle
- Stitch markers (optional)
- Finished size: approximately 12 inches (30.5 cm) square, including border
Abbreviations
- ch: chain — a loop made by pulling yarn through a loop on the hook.
- sc: single crochet — insert hook, pull up a loop, yarn over, pull through both loops.
- dc: double crochet — yarn over, insert hook, pull up a loop, yarn over and pull through two loops twice.
- tr: treble crochet — yarn over twice, insert hook, pull up a loop, yarn over and pull through two loops three times.
- sl st: slip stitch — insert hook, yarn over, pull through all loops on the hook.
- sp: space — the gap formed by a chain or between stitches.
- st(s): stitch(es).
- beg: beginning.
- sk: skip — miss the next stitch without working into it.
- FPdc: front post double crochet — work a double crochet around the post of the stitch from the front, pushing the hook behind the post.
- BPdc: back post double crochet — work a double crochet around the post of the stitch from the back, bringing the hook in front of the post.
Gauge
One full hexagon motif measures 3 inches (7.5 cm) across flat-to-flat after blocking. Gauge is not critical for the blanket, but matching it ensures the finished size. To check, work one motif and measure it flat-to-flat before joining.
Tips Before You Start
- Count your stitches at the end of every round. The corner chain spaces are what create the hexagon shape, so keep them clear and consistent.
- When working FPdc and BPdc, keep your tension relaxed so the texture stays soft and the motif does not pull in.
- Block each motif lightly before joining. This opens the hexagon shape and makes the edges much easier to match.
- Lay out all motifs with stitch markers before you join a single edge, so the color placement stays exactly as designed.
Step-by-Step Instructions
Full Hexagon Motif (make 7)
Color sequence: Motif A (center) — Deep Blue center with Light Blue outer rounds. Motifs B (6 surrounding) — Cream center with Cream outer rounds. All motifs use the same stitch pattern.
Rnd 1: With chosen center color, make a magic ring. Ch 3 (counts as first dc), 11 dc in ring, join with sl st to top of ch-3 (12 dc).
Rnd 2: Ch 3, dc in same st, 2 dc in each dc around, join with sl st to top of ch-3 (24 dc).
Rnd 3: Ch 3, dc in next st, *2 dc in next st, dc in next st, ch 1, sk next st, dc in next st, 2 dc in next st, dc in next st, ch 1, sk next st; repeat from * around, join with sl st to top of ch-3 (36 dc, 6 ch-1 sps).
Rnd 4: Ch 3, dc in next 2 sts, *2 dc in next st, dc in next 2 sts, ch 1, sk next st, dc in next 2 sts, 2 dc in next st, dc in next 2 sts, ch 1, sk next st; repeat from * around, join with sl st to top of ch-3. Fasten off (48 dc, 6 ch-1 sps).
Rnd 5 (texture round): Join outer color (if different) with sl st in any ch-1 sp, ch 3, dc in same sp, *FPdc around next 3 sts, BPdc around next 3 sts, (2 dc, ch 2, 2 dc) in next ch-1 sp (corner), FPdc around next 3 sts, BPdc around next 3 sts; repeat from * around, join with sl st to top of ch-3. Fasten off (60 sts, 6 corner ch-2 sps).
Half Hexagon Motif (make 4)
Used to square off the top and bottom edges. Work in Cream.
Row 1: Ch 4, join with sl st to form ring. Ch 3, 5 dc in ring, turn (6 dc).
Row 2: Ch 3, dc in same st, 2 dc in each dc across, turn (12 dc).
Row 3: Ch 3, dc in next st, *2 dc in next st, dc in next st, ch 1, sk next st, dc in next st, 2 dc in next st, dc in next st, ch 1, sk next st; repeat from * across, turn (18 dc, 3 ch-1 sps).
Row 4: Ch 3, dc in next 2 sts, *2 dc in next st, dc in next 2 sts, ch 1, sk next st, dc in next 2 sts, 2 dc in next st, dc in next 2 sts, ch 1, sk next st; repeat from * across, turn. Fasten off (24 dc, 3 ch-1 sps).
Row 5 (texture): Join Cream with sl st in first st, ch 3, dc in same st, *FPdc around next 3 sts, BPdc around next 3 sts, (2 dc, ch 2, 2 dc) in next ch-1 sp, FPdc around next 3 sts, BPdc around next 3 sts; repeat from * across, ending with 2 dc in last st. Fasten off (30 sts, 3 corner ch-2 sps).
Assembly and Finishing
Layout: Place the Deep Blue/Light Blue full hexagon (Motif A) in the center. Surround it with the 6 Cream full hexagons (Motifs B) to form a larger hexagon shape. Place the 4 half hexagons along the top and bottom edges to square off the shape. Use stitch markers to hold the layout.
Joining: With Cream, join motifs by working sc through back loops of corresponding edges, matching stitch counts. Work from the center outward. For half hexagons, join the straight edge to the hexagon edge. After joining, the piece should measure approximately 11 inches (28 cm) square before border.
Border Round 1: With Deep Blue, sc evenly around entire square, placing 3 sc in each corner. To compensate for zigzag hexagon edges, work sc in each st and in each ch-1 sp, and at each hexagon junction work 2 sc together (sc2tog) to smooth the edge. Join with sl st to first sc.
Border Round 2: With Cream, ch 1, *sc in next sc, ch 2, sk next sc, sc in next sc; repeat from * around. In corners, work (sc, ch 2, sc) in center sc of previous round. Join with sl st to first sc.
Border Round 3: With Deep Blue, ch 1, sc in each sc and in each ch-2 sp around, working 3 sc in each corner ch-2 sp. Join with sl st to first sc. Fasten off.
Finishing: Weave in all ends on the wrong side with your yarn needle, working each end through a few stitches in two directions to secure it. Block the finished blanket by misting it lightly and pinning it to a 12-inch square, then let it dry completely so the motifs lie flat and the border sits straight.
Pro Tips and Variations
- Swap the palette for a monochrome look by working all motifs in shades of one color family; the texture round will still stand out beautifully.
- For a larger throw, simply add more Cream motifs around the outer ring and add half hexagons wherever you need to square an edge.
- Try a contrast border: work Border Round 1 in Cream and Round 3 in Light Blue for a softer, framed finish.