Crochet Apricot Teacup Paperclips Free Pattern
Introduction
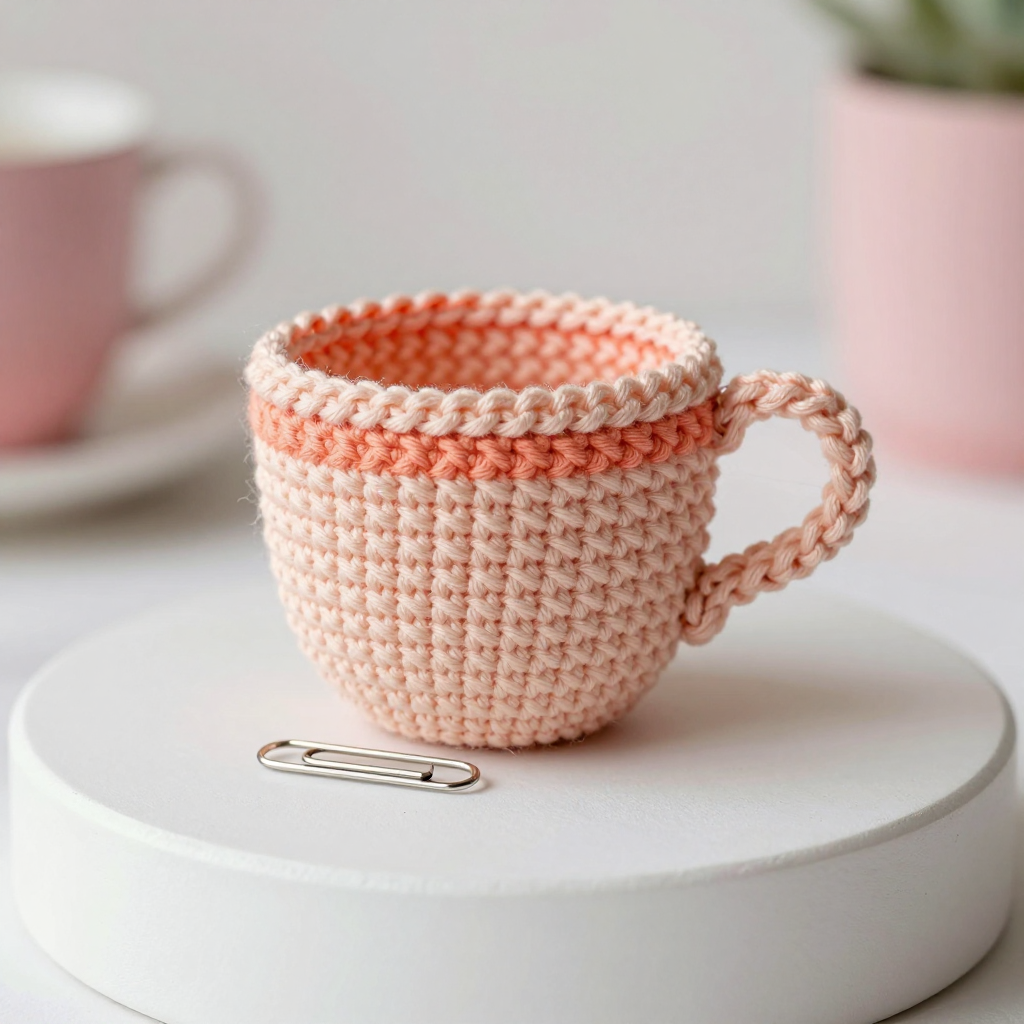
This tiny crocheted teacup is the sweetest way to dress up a plain paperclip. Worked in apricot crochet thread with a single peach stripe near the rim, it looks just like a miniature cup of tea sitting on your desk. The dense single crochet fabric gives it a firm, textured surface that holds its shape beautifully. It is a quick, beginner-friendly project that uses only the smallest scraps of thread and makes a charming gift tag, bookmark buddy, or preppy stationery accent.
Materials Needed
- Yarn: Lace weight (0) crochet thread, size 10, 100% cotton — 10 yds apricot (Color A), 5 yds peach (Color B)
- Hook: 1.5 mm steel hook (US 8)
- Notions: Tapestry or embroidery needle, scissors, one standard metal paperclip (1.25 inches / 3.2 cm long)
- Finished size: Teacup 0.75 inch (1.9 cm) diameter and 0.5 inch (1.3 cm) tall; paperclip 1.25 inches (3.2 cm) long
Abbreviations
- MR — magic ring: an adjustable loop you crochet into to start a round with no hole
- sc — single crochet
- inc — increase: work 2 sc in the same stitch
- dec — decrease: work 2 stitches together as one sc
- ch — chain
- sl st — slip stitch
- rnd — round
- FO — fasten off
- sts — stitches
Gauge
16 sc and 18 rnds = 1 inch (2.5 cm) in single crochet. Work a small swatch in the round and measure it; if your stitches are larger than this, drop to a smaller hook so the cup stays 0.75 inch across.
Tips Before You Start
- Cotton thread splits easily — use a steel hook with a smooth throat and keep your tension light and even.
- Use a stitch marker in the first stitch of each round; the spiral join is nearly invisible in thread this fine.
- Work the magic ring tightly and pull the tail firmly so the base of the cup has no hole.
- Leave 6-inch tails on every fastening-off point; fine thread tails are hard to re-thread later.
Step-by-Step Instructions
Teacup (Color A, with Color B stripe)
Rnd 1: MR, 6 sc into the ring (6 sts)
Rnd 2: inc in each st around (12 sts)
Rnd 3: [sc, inc] x6 (18 sts)
Rnds 4-6: sc in each st around (18 sts)
Rnd 7: Change to Color B. sc in each st around (18 sts)
Rnd 8: Change to Color A. sc in each st around (18 sts)
Rnd 9: [sc, dec] x6 (12 sts)
Rnd 10: dec x6 (6 sts)
FO, leaving a long tail. Thread the tail through the front loops of the last 6 sts and pull to close the top.
Handle (Color A)
Setup: Ch 6, join with sl st to form a ring.
Rnd 1: sc in each ch around (6 sts)
Rnd 2: sc in each st around (6 sts)
FO, leaving a long tail for sewing.
Assembly and Finishing
Flatten the handle ring slightly and pin it to the side of the teacup so it spans rounds 4-6. Sew it in place with the apricot tail, catching both edges of the handle and the cup wall. Sew the paperclip to the bottom of the teacup with 2-3 apricot stitches, working around the wire so it sits flat against the base. Weave in all ends on the inside of the cup. To block, mist the cup lightly with water, shape it around your fingertip, and let it dry completely so the sides stay round.
Pro Tips and Variations
- Swap the peach stripe for mint, lilac, or cream to match a different stationery set.
- Add a second stripe by working Rnd 8 in Color B as well for a bolder band.
- Skip the paperclip and sew a jump ring or brooch pin to the base to make a tiny charm or lapel pin.