Atomic Starburst Scrubber Free Crochet Pattern

Introduction
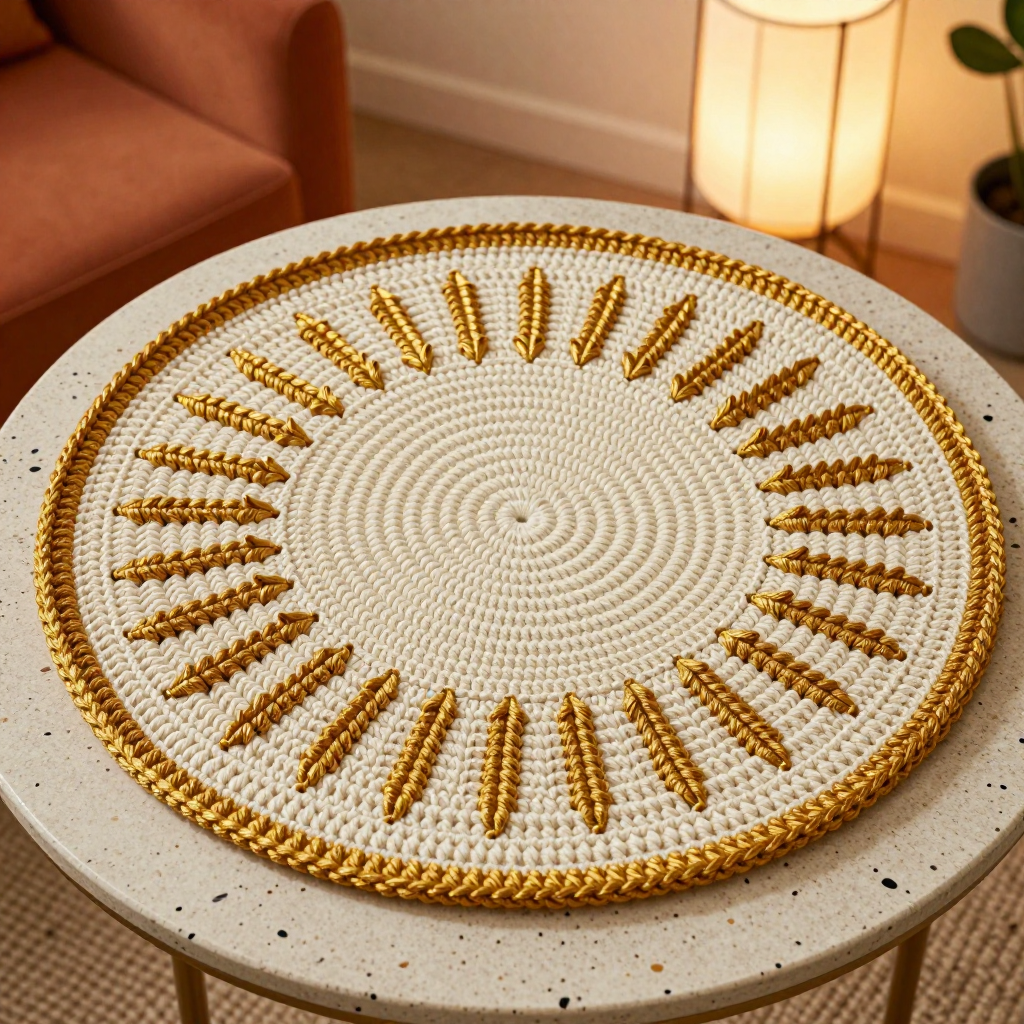
Meet the Atomic Starburst Scrubber, a retro little workhorse for your kitchen sink. It's made for anyone who loves mid-century modern style and wants a durable, reusable dish scrubber that looks as good as it works. Two flat cotton circles are crocheted separately, then joined back-to-back so the scrubber is thick and sturdy, with a charcoal edge running all the way around. On the oatmeal top face, twelve short charcoal spike-stitch rays radiate outward like an atomic-age starburst. The bulky cotton makes it dense, absorbent, and pleasantly grippy in the hand, and at about 4.5 inches across it fits comfortably in your palm.
Materials Needed
- Yarn: Bulky (weight 5) cotton yarn, approximately 30 yards (27 m) oatmeal (A) and 30 yards (27 m) charcoal (B). Sample uses Lily Sugar'n Cream Ombres & Prints (100% cotton, 2 oz/57 g, 95 yds/87 m) in 00004 Oatmeal (A) and 00002 Charcoal (B).
- Hook: 8 mm (US L/11) crochet hook
- Notions: Stitch marker, tapestry needle for weaving in ends, scissors
- Finished size: Approximately 4.5 inches (11.5 cm) in diameter
Abbreviations
- ch — chain: yarn over and pull through the loop on your hook.
- sc — single crochet: insert hook in stitch, yarn over, pull up a loop, yarn over, pull through both loops.
- inc — increase: work 2 single crochet stitches into the same stitch.
- sl st — slip stitch: insert hook in stitch, yarn over, pull through both the stitch and the loop on your hook.
- spike st — spike stitch: insert hook into a stitch in a lower round, yarn over, pull up a long loop, yarn over, pull through all loops on hook.
- MR — magic ring: an adjustable loop used to begin a circle.
- st(s) — stitch(es)
- rnd(s) — round(s)
Gauge
12 sts and 12 rnds = 4 inches (10 cm) in single crochet. Work a small flat swatch in sc and measure the middle of it; if you have more stitches than 12 in 4 inches, go up a hook size, and if you have fewer, go down.
Tips Before You Start
- Keep your single crochet firm and even. A dense fabric scrubs better and holds its round shape through washing.
- Use a stitch marker in the first stitch of each round so you never lose your place in the increase circles.
- When you make the spike stitches, pull the loop up loosely and evenly so all twelve rays reach the same length.
- Cotton has little stretch, so don't tug the joining round too tight or the scrubber will cup; let it lie flat as you work.
Step-by-Step Instructions
Top Layer (A)
Rnd 1: Make a magic ring, 6 sc into the ring (6 sts).
Rnd 2: Inc in each st around (12 sts).
Rnd 3: [sc, inc] x6 (18 sts).
Rnd 4: [2 sc, inc] x6 (24 sts).
Rnd 5: [3 sc, inc] x6 (30 sts).
Rnd 6: [4 sc, inc] x6 (36 sts).
Rnd 7: [5 sc, inc] x6 (42 sts).
Rnd 8: [6 sc, inc] x6 (48 sts). Fasten off.
Bottom Layer (B)
Work Rnds 1–8 exactly as for the Top Layer (A), but do not fasten off.
Join Layers
Hold the Top Layer (A) and Bottom Layer (B) with wrong sides together, aligning the stitches. Working through both layers, join B with sc in any st.
Join rnd: Sc in each st around, inserting the hook through both layers (48 sc). Join with sl st to first sc. Fasten off.
Spike Stitch Rays (B)
Join B with sl st in any st of the Top Layer (A) from Rnd 7 (the second-to-last round).
Ray rnd: *Ch 1, spike st (insert hook in next st of Rnd 5, yarn over, pull up loop, yarn over, pull through all loops on hook), ch 1, sl st in next st of Rnd 7. Rep from * around, working 12 spikes evenly spaced. Fasten off.
Edging
Join B with sl st in any st of the joined layers.
Edging rnd: Ch 1, sc in each st around (48 sc). Join with sl st to first sc. Fasten off.
Assembly and Finishing
There's no separate seaming to do: the two layers are already joined by the joining round worked through both circles, and the edging round finishes the rim. Weave in all ends on the wrong side, running each tail through a few stitches in the same color so it disappears. Block the scrubber by dampening it and pressing it flat under a towel or between two plates until dry, so the circles lie perfectly flat and the rays sit evenly.
Pro Tips and Variations
- Swap the colors for a different retro look: a cream top with teal rays, or a mustard top with rust rays.
- For extra scrubbing power, hold a strand of cotton and a strand of nylon scrubby yarn together for the bottom layer.
- Add a small chain loop at the edging if you like to hang your scrubber by the sink.