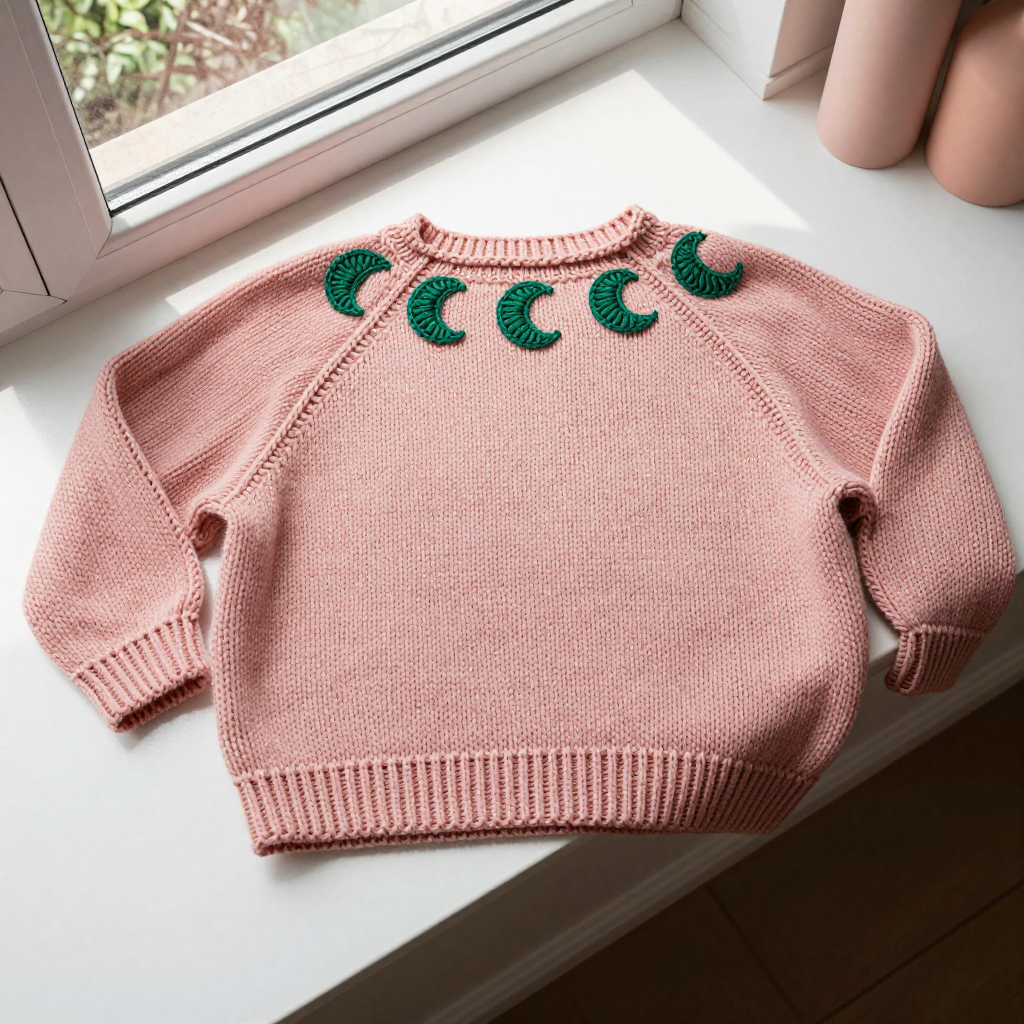
Plum Eye Color-Block Pullover Knit Free Pattern

Plum Eye Color-Block Pullover Knit Free Pattern
Introduction
This pullover is for anyone who loves a relaxed, boxy lounge sweater with a little personality. It is knitted from a plain rectangle body and two simple tube sleeves, so the knitting stays easy while the design does the talking. A mauve color-block band wraps the lower body and cuffs, and a small double-knit evil eye patch sits centered on the front. In soft DK merino it feels light but warm, with a smooth stockinette face and a straight, easy fit that looks great with jeans or joggers.
Materials Needed
- Yarn: DK weight (light worsted) 100% merino wool, approx 1200 yards total: Plum (MC) 900 yards, Mauve (CC) 300 yards.
- Needles: 4.0 mm (US 6) circular needles, 80 cm and 40 cm, plus 4.0 mm (US 6) double-pointed needles for the sleeves.
- Notions: Stitch markers, stitch holders or waste yarn, tapestry needle, tape measure, scissors.
- Finished size: Chest circumference 112 cm, length 68 cm, sleeve length from cuff to underarm 48 cm, upper arm circumference 40 cm, neck opening 20 cm wide.
Abbreviations
- CO: cast on.
- BO: bind off.
- st / sts: stitch / stitches.
- st st: stockinette stitch (knit on right side rows, purl on wrong side rows; knit every round in the round).
- RS / WS: right side / wrong side.
- k / p: knit / purl.
- dec: decrease (knit or purl two stitches together as the row requires).
- MC / CC: main color (Plum) / contrast color (Mauve).
Gauge
22 stitches and 30 rows = 10 cm in stockinette stitch on 4.0 mm needles. Knit a swatch, block it, and measure a 10 cm section in the middle; adjust needle size if needed to match.
Tips Before You Start
- Work a blocked gauge swatch in both colors, since the mauve band sits at the widest part of the body and gauge errors show there first.
- Keep the color changes tidy: change colors at the end of a row, and always carry the old color loosely up the side edge rather than cutting it.
- The body is one flat rectangle split at the underarms, so mark the side seam stitch clearly with a locking marker to keep front and back even.
- For the evil eye patch, keep the two yarns separate and untwisted; the patch is small, so work it in a quiet moment with good light.
Step-by-Step Instructions
Body (worked flat in one piece to underarms, then front and back separately)
Row 1 (set-up): With MC, CO 246 sts. Work in st st for 30 cm, ending with a WS row.
Next: Change to CC. Work 10 cm in st st, ending with a WS row.
Next: Change to MC. Work 2 rows in st st.
Next row (RS): k123, place marker for side seam, k123.
Continue: Work in st st until piece measures 45 cm from CO edge, ending with a WS row.
Shape armholes: BO 6 sts at beg of next 2 rows (234 sts).
Divide for front and back, next row (RS): k111, BO 12 sts for center front neck, k111. Place front sts on holder.
Back
Rows 1-2: Work back and forth in st st on 111 sts. BO 3 sts at beg of next 2 rows (105 sts).
Rows 3-4: BO 2 sts at beg of next 2 rows (101 sts).
Rows 5-10: Dec 1 st each side every other row 3 times (95 sts).
Work even: Continue in st st until armhole measures 20 cm, ending with a WS row.
Shape shoulders and back neck: BO 8 sts at beg of next 2 rows, then BO 8 sts at beg of next 2 rows, then BO 9 sts at beg of next 2 rows. Place remaining 29 sts on holder for back neck.
Front
Set-up: With WS facing, rejoin MC to front sts. Work as for back until armhole measures 12 cm, ending with a WS row.
Shape front neck, next row (RS): k37, BO 21 sts for center front neck, k37. Work each side separately.
Shape neck: BO 3 sts at neck edge once, then BO 2 sts once, then dec 1 st at neck edge every other row 3 times (29 sts each side).
Work even: Continue until armhole measures 20 cm, ending with a WS row.
Shape shoulders: BO 8 sts at beg of next 2 rows, then BO 8 sts at beg of next 2 rows, then BO 9 sts at beg of next 2 rows.
Sleeves (make 2, worked in the round)
Set-up: With MC, CO 88 sts. Join to work in the round, placing marker at beg of round. Work in st st for 30 cm.
Next: Change to CC. Work 10 cm in st st.
Next: Change to MC. Work 2 rounds in st st.
Shape sleeve cap: BO 6 sts at beg of next 2 rounds (76 sts).
Next: Dec 1 st each side every other round 10 times (56 sts).
Next: BO 2 sts at beg of next 4 rounds (48 sts).
Next: BO 3 sts at beg of next 4 rounds (36 sts).
Next: BO remaining 36 sts.
Evil Eye Patch (double knitting, worked flat)
Set-up: With MC and CC, CO 34 sts (17 pairs).
Row 1 (RS): [k1 MC, p1 CC] across.
Row 2 (WS): [p1 MC, k1 CC] across.
Rows 3-17: Continue in double knitting, following the chart for the eye motif (centered, 17 sts wide by 17 rows tall).
Next: After completing the chart, work 1 more row in MC/CC as set.
Next: BO all sts.
Neckband
Set-up: With MC and RS facing, pick up and knit 100 sts evenly around neck opening. Join to work in the round.
Rnds 1-6: Work in st st for 2 cm.
Next: BO loosely.
Assembly and Finishing
Block all pieces to the finished measurements before seaming. Sew the shoulder seams. Sew the sleeves into the armholes, matching the cap shaping to the armhole shaping. Sew the side and sleeve seams. Sew the evil eye patch to the center front, positioning it 5 cm above the mauve color-block band. Weave in all ends, then give the finished pullover a light steam or wet block to settle the seams.
Pro Tips and Variations
- Swap the mauve band for a charcoal or cream contrast for a quieter 90s look, keeping the same yardage split.
- Work the evil eye patch in a finer yarn on smaller needles for a smaller, more delicate motif.
- Add 2 cm of ribbing to the cuffs and hem if you prefer a snugger finish, adjusting the sleeve length to keep the 48 cm measurement.