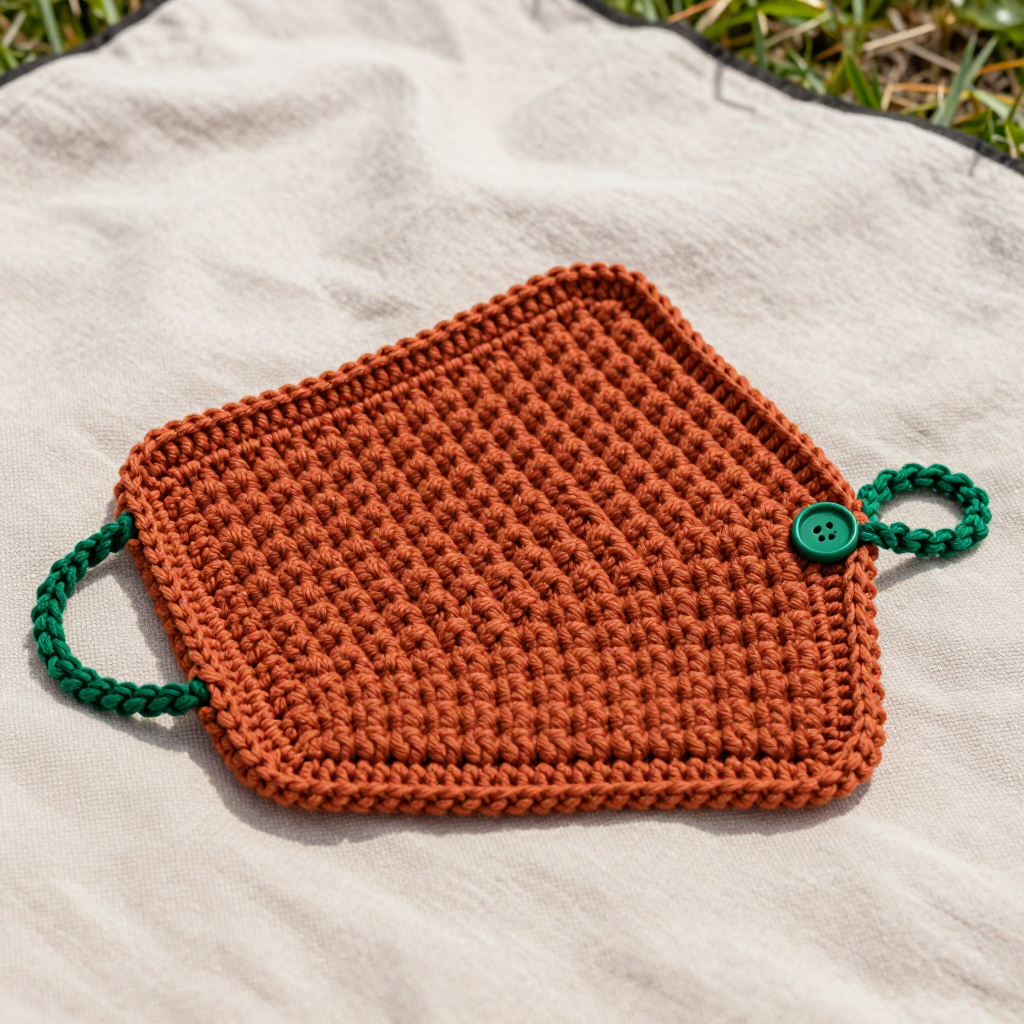
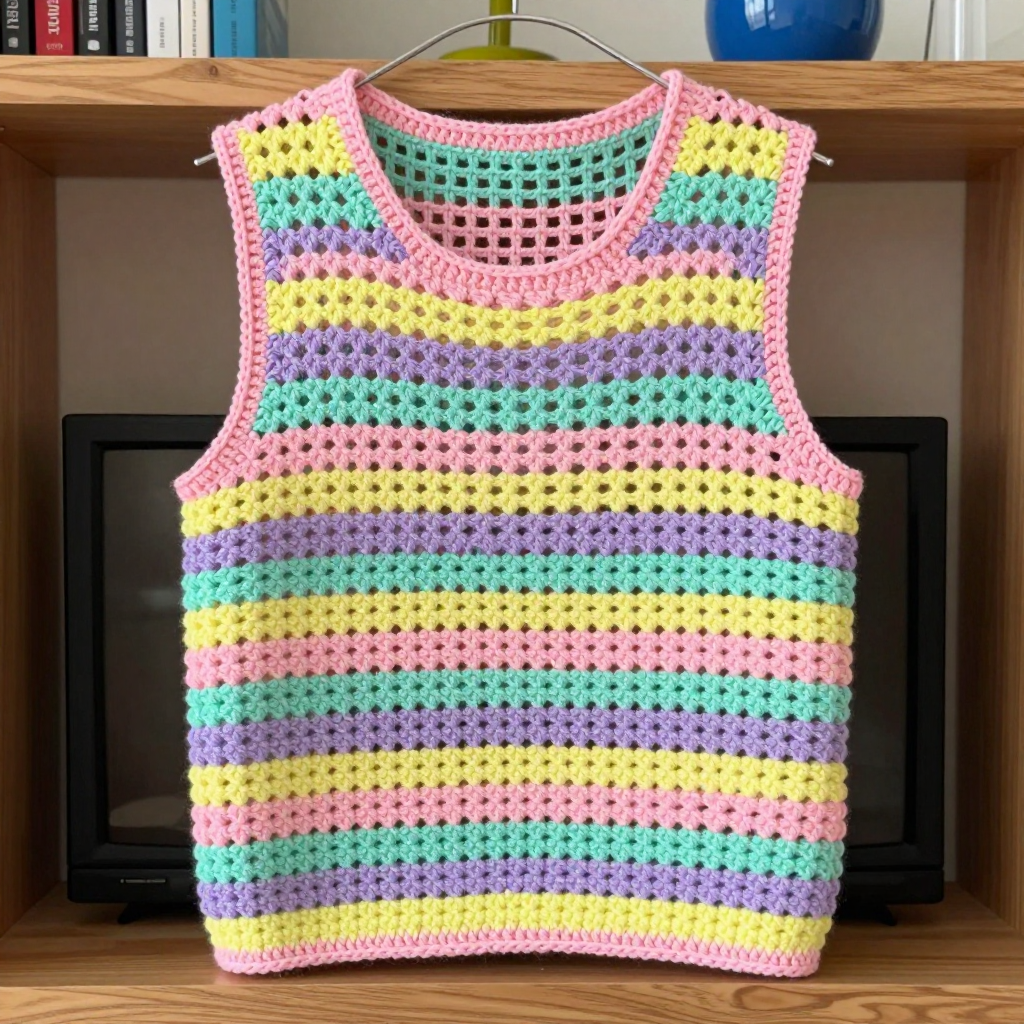
Bulky Wool Chevron Neck Warmer Free Crochet Pattern

Bulky Wool Chevron Neck Warmer Free Crochet Pattern
Introduction
This cozy neck warmer is the perfect quick project for anyone who wants a warm, stylish accessory without committing to a full scarf. Worked in soft bulky wool with a classic chevron (ripple) stitch, it builds up fast and feels wonderfully squishy against the skin. Wide four-row stripes of cotton candy pink and baby blue give it a playful, modern look, while a simple button closure makes it easy to pop on and off. It is an ideal advanced-beginner project for anyone comfortable with single crochet who is ready to try a chevron repeat.
Materials Needed
- Yarn: Bulky weight (weight category 5) wool, approximately 100 yards total — 50 yards cotton candy pink (A) and 50 yards baby blue (B).
- Hook: 6.5 mm (K-10.5) crochet hook.
- Notions: Tapestry needle for seaming and weaving in ends, one button (about 1 inch/25 mm), scissors, and a stitch marker (optional).
- Finished size: Approximately 24 inches circumference and 6 inches tall.
Abbreviations
- ch — chain: make a loop of yarn and pull it through the loop on your hook.
- sc — single crochet: insert hook into stitch, yarn over, pull up a loop, yarn over, pull through both loops.
- sk — skip: leave the next stitch(es) unworked.
- st(s) — stitch(es).
- sl st — slip stitch: insert hook into stitch, yarn over, pull through both the stitch and the loop on your hook.
- RS — right side: the front, outward-facing side of your work.
- rep — repeat.
Gauge
12 stitches and 8 rows = 4 inches in the chevron pattern. To check, crochet a small swatch in pattern and measure a 4-inch section; adjust your hook size if needed to match.
Tips Before You Start
- Count your stitches every row. The chevron repeat is easy to drift, so confirm you have 59 stitches at the end of each row.
- Keep the 3-sc points and sk-2 valleys aligned. Each increase point should sit directly above the previous row's point, and each skip should line up with the previous skip.
- Change colors at the end of a row. Work the last stitch of the row in the old color, then pull the new color through to finish, so the stripe edge stays neat.
- Don't crochet too tightly. Bulky wool plus a large hook should feel relaxed; a loose, even tension keeps the ripple soft and the finished band the right size.
Step-by-Step Instructions
The neck warmer is worked flat in rows and then seamed. The chevron pattern is a multiple of 12 stitches plus 1.
Main Band
With A, ch 61.
Row 1 (RS): Sc in 2nd ch from hook, sc in next 4 ch, 3 sc in next ch, sc in next 4 ch, *sk next 2 ch, sc in next 4 ch, 3 sc in next ch, sc in next 4 ch; rep from * to last ch, sc in last ch. (59 sts)
Row 2: Ch 1, turn, sc in first st, sc in next 4 sts, 3 sc in next st, sc in next 4 sts, *sk next 2 sts, sc in next 4 sts, 3 sc in next st, sc in next 4 sts; rep from * to last st, sc in last st. (59 sts)
Rows 3–4: Rep Row 2. (59 sts) Change to B.
Rows 5–8: Rep Row 2. (59 sts) Change to A.
Rows 9–12: Rep Row 2. (59 sts) Change to B.
Rows 13–16: Rep Row 2. (59 sts) Change to A.
Rows 17–20: Rep Row 2. (59 sts) Change to B.
Rows 21–24: Rep Row 2. (59 sts) Change to A.
Rows 25–28: Rep Row 2. (59 sts) Change to B.
Rows 29–32: Rep Row 2. (59 sts) Change to A.
Rows 33–36: Rep Row 2. (59 sts) Change to B.
Rows 37–40: Rep Row 2. (59 sts) Change to A.
Rows 41–44: Rep Row 2. (59 sts) Change to B.
Rows 45–48: Rep Row 2. (59 sts) Change to A. Fasten off.
Button Loop
Join A to the right front corner, ch 10, sl st to form a loop, fasten off.
Assembly and Finishing
With the right side facing, sew the short ends together using a whipstitch, being careful not to twist the band. Weave in all ends securely on the wrong side. Sew the button opposite the button loop. Block lightly by misting with water and patting flat to even out the chevron ridges, then let it dry completely.
Pro Tips and Variations
- Change the palette: Swap the pink and blue for any two contrasting bulky colors, or work solid stripes in a single shade for a minimalist look.
- Add a second button: Sew two buttons stacked vertically so the neck warmer can be worn at different snugness levels.
- Make it taller: Add extra four-row stripes in the same repeat to create a deeper, cowl-like neck warmer — just remember each extra stripe uses more yarn.